01
Main Entrance
The front hall of the factory and the first room of Chapter 1. It has the reception desk with the green Leith Pierre tape and leads to the Gift Shop and the Security Office.
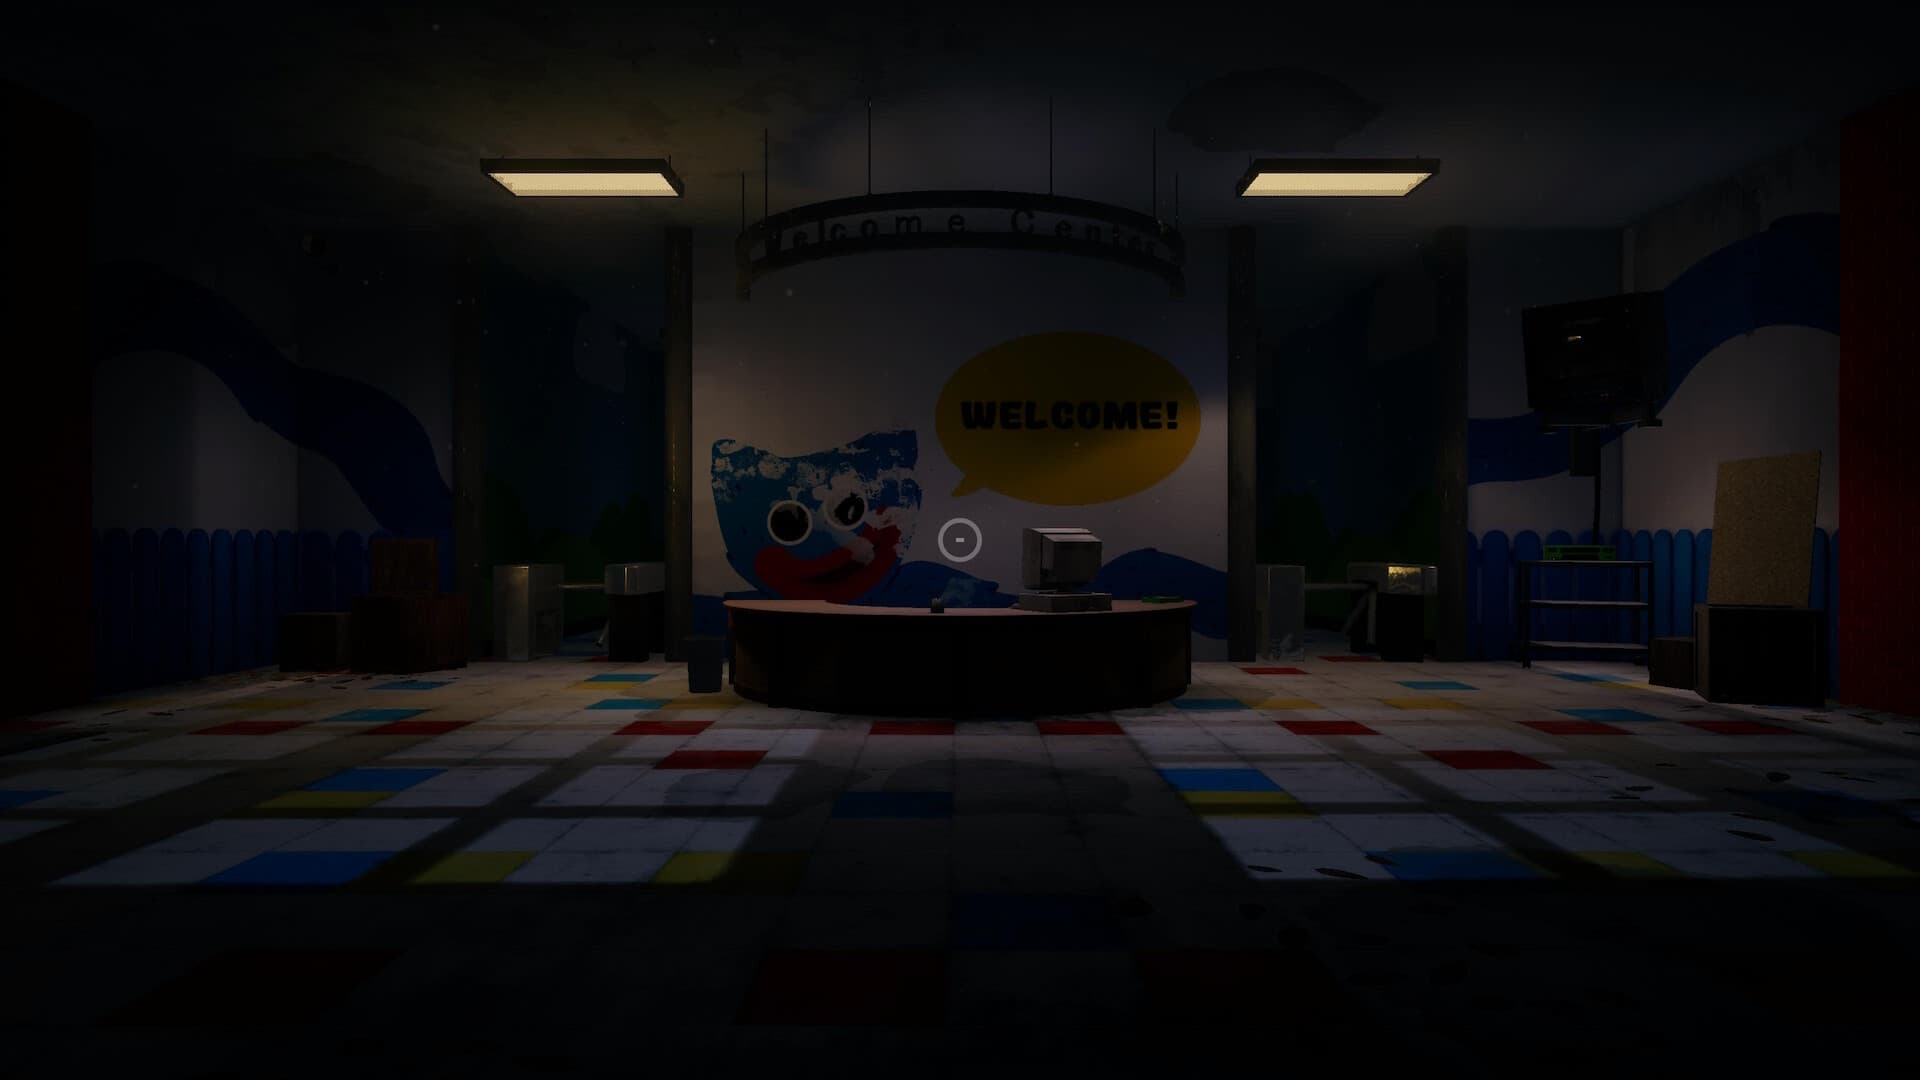
The front hall of the factory and the first room of Chapter 1. It has the reception desk with the green Leith Pierre tape and leads to the Gift Shop and the Security Office.
A small shop off the Main Entrance. A toy train there gives the color code for the Security Office door.
The room where the Player watches the blue training tape and takes the GrabPack with the Blue Hand.
The large hall where Huggy Wuggy stands on a podium with his information panel. Doors from it lead to the Power Room and on toward Storage and Supply and the Make-A-Friend Room.
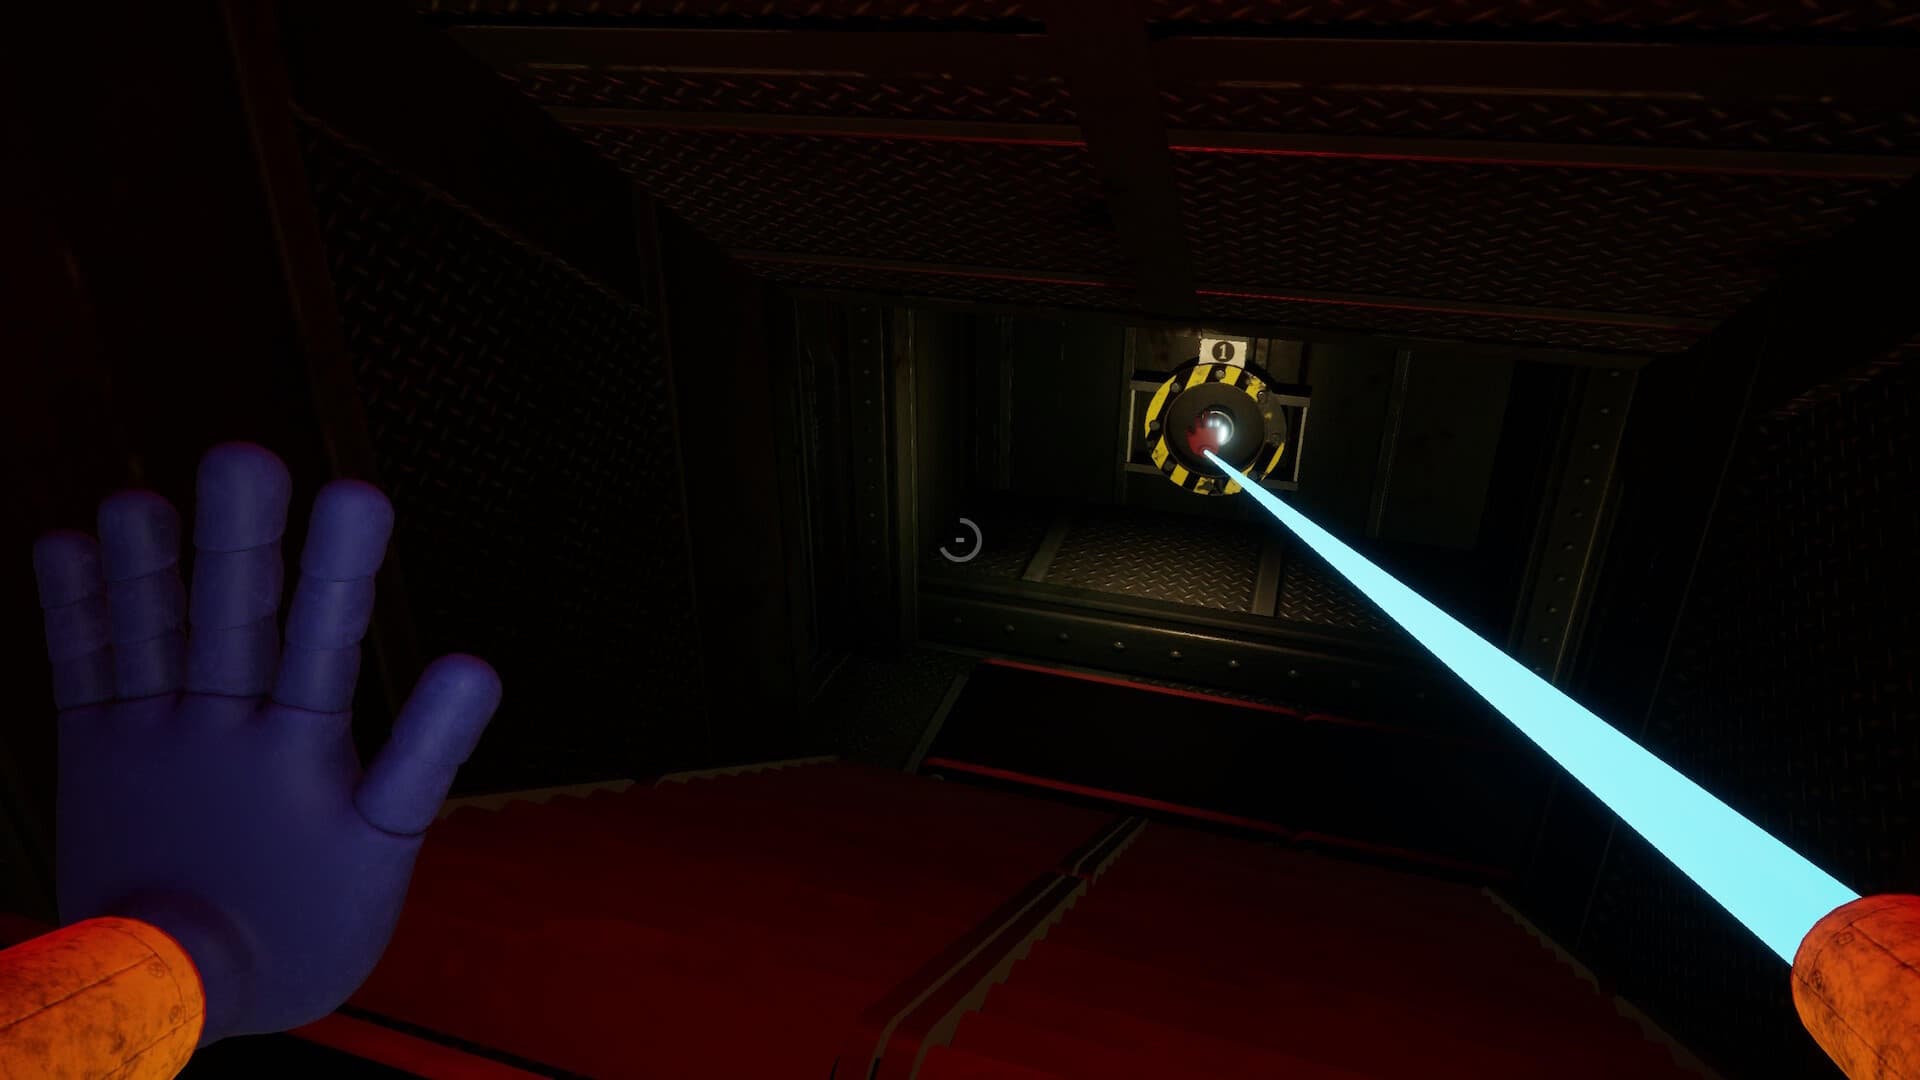
A small room off the Lobby opened with the key from Huggy Wuggy's hand. The Player wraps the GrabPack wire around power poles to restore power.
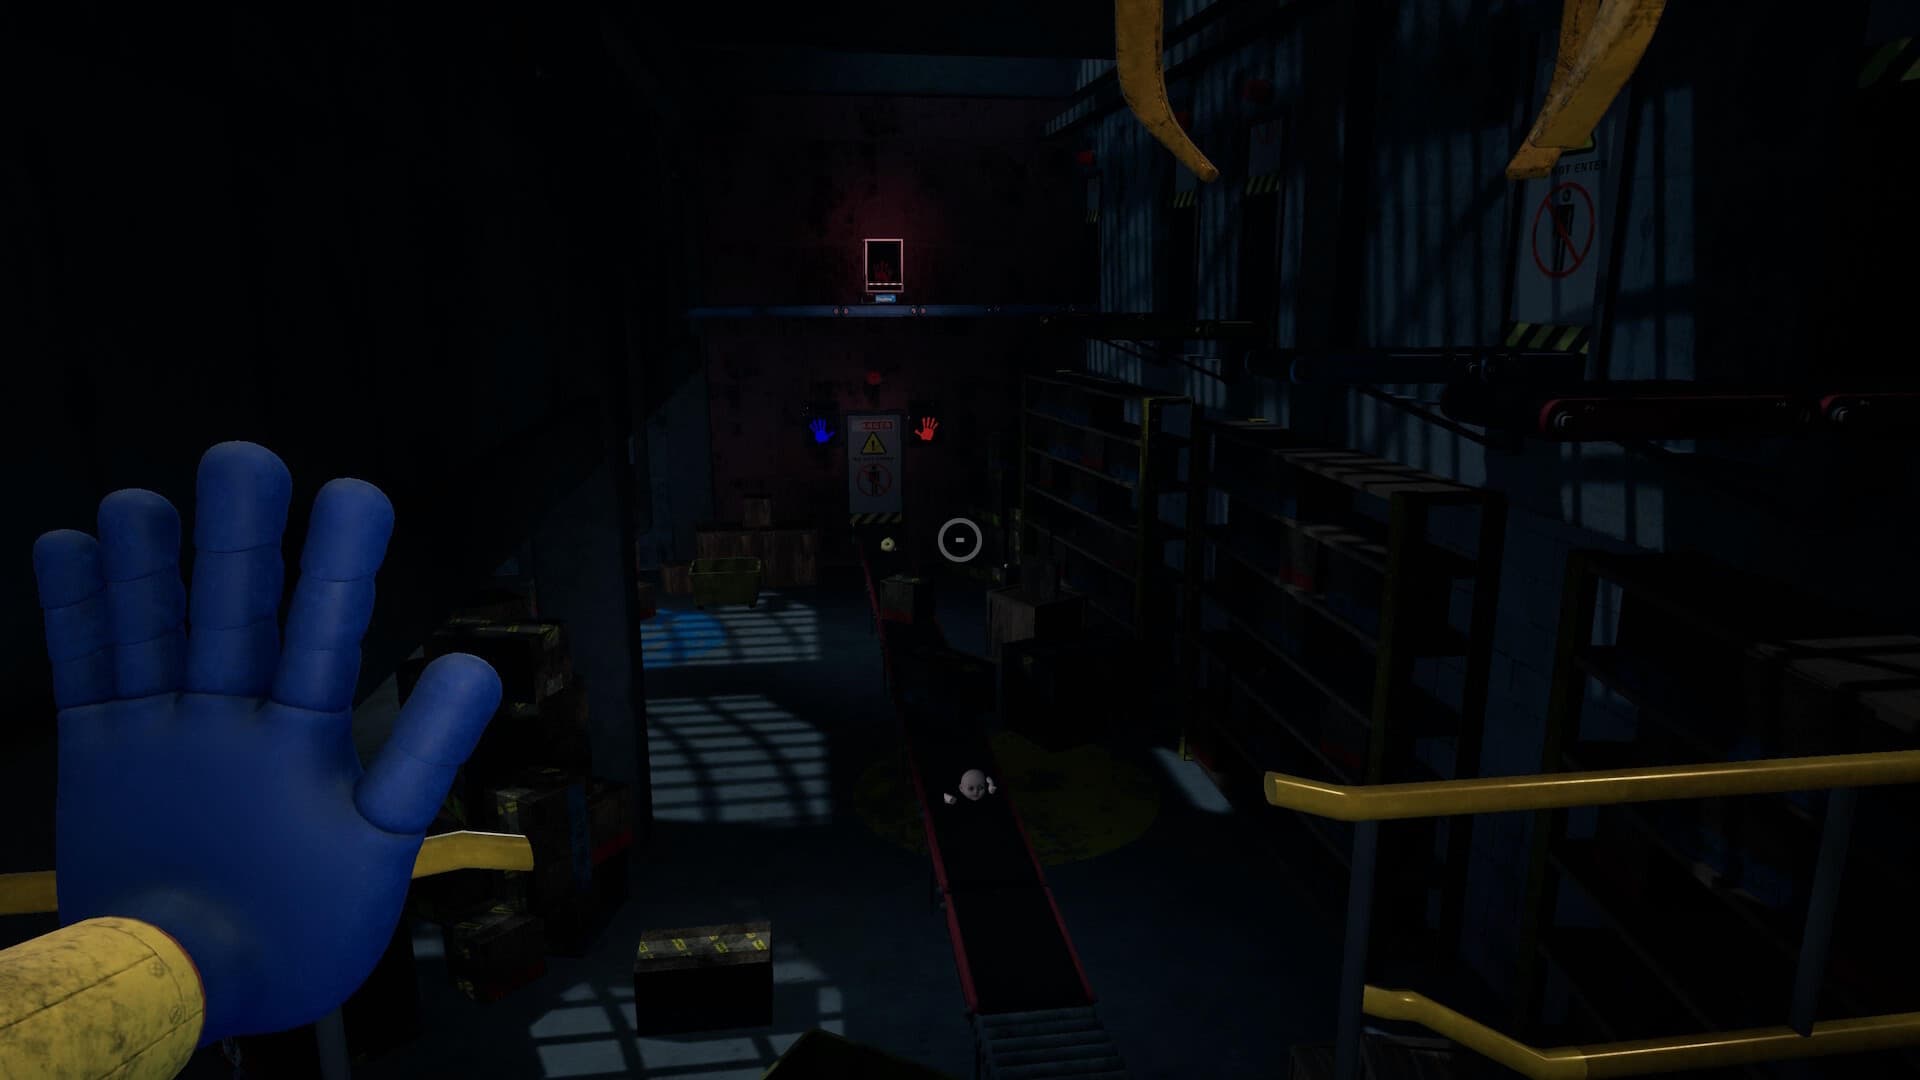
A storage hall with shelves, a crane and a control panel. The Player finds four fuses here and wins the Red Hand. The yellow Rich and Avery tape is on a shelf.
The conveyor belt and vent system that moves toy parts around the factory. The first network carries the Player to the Make-A-Friend Room. Huggy Wuggy chases the Player through the second one.
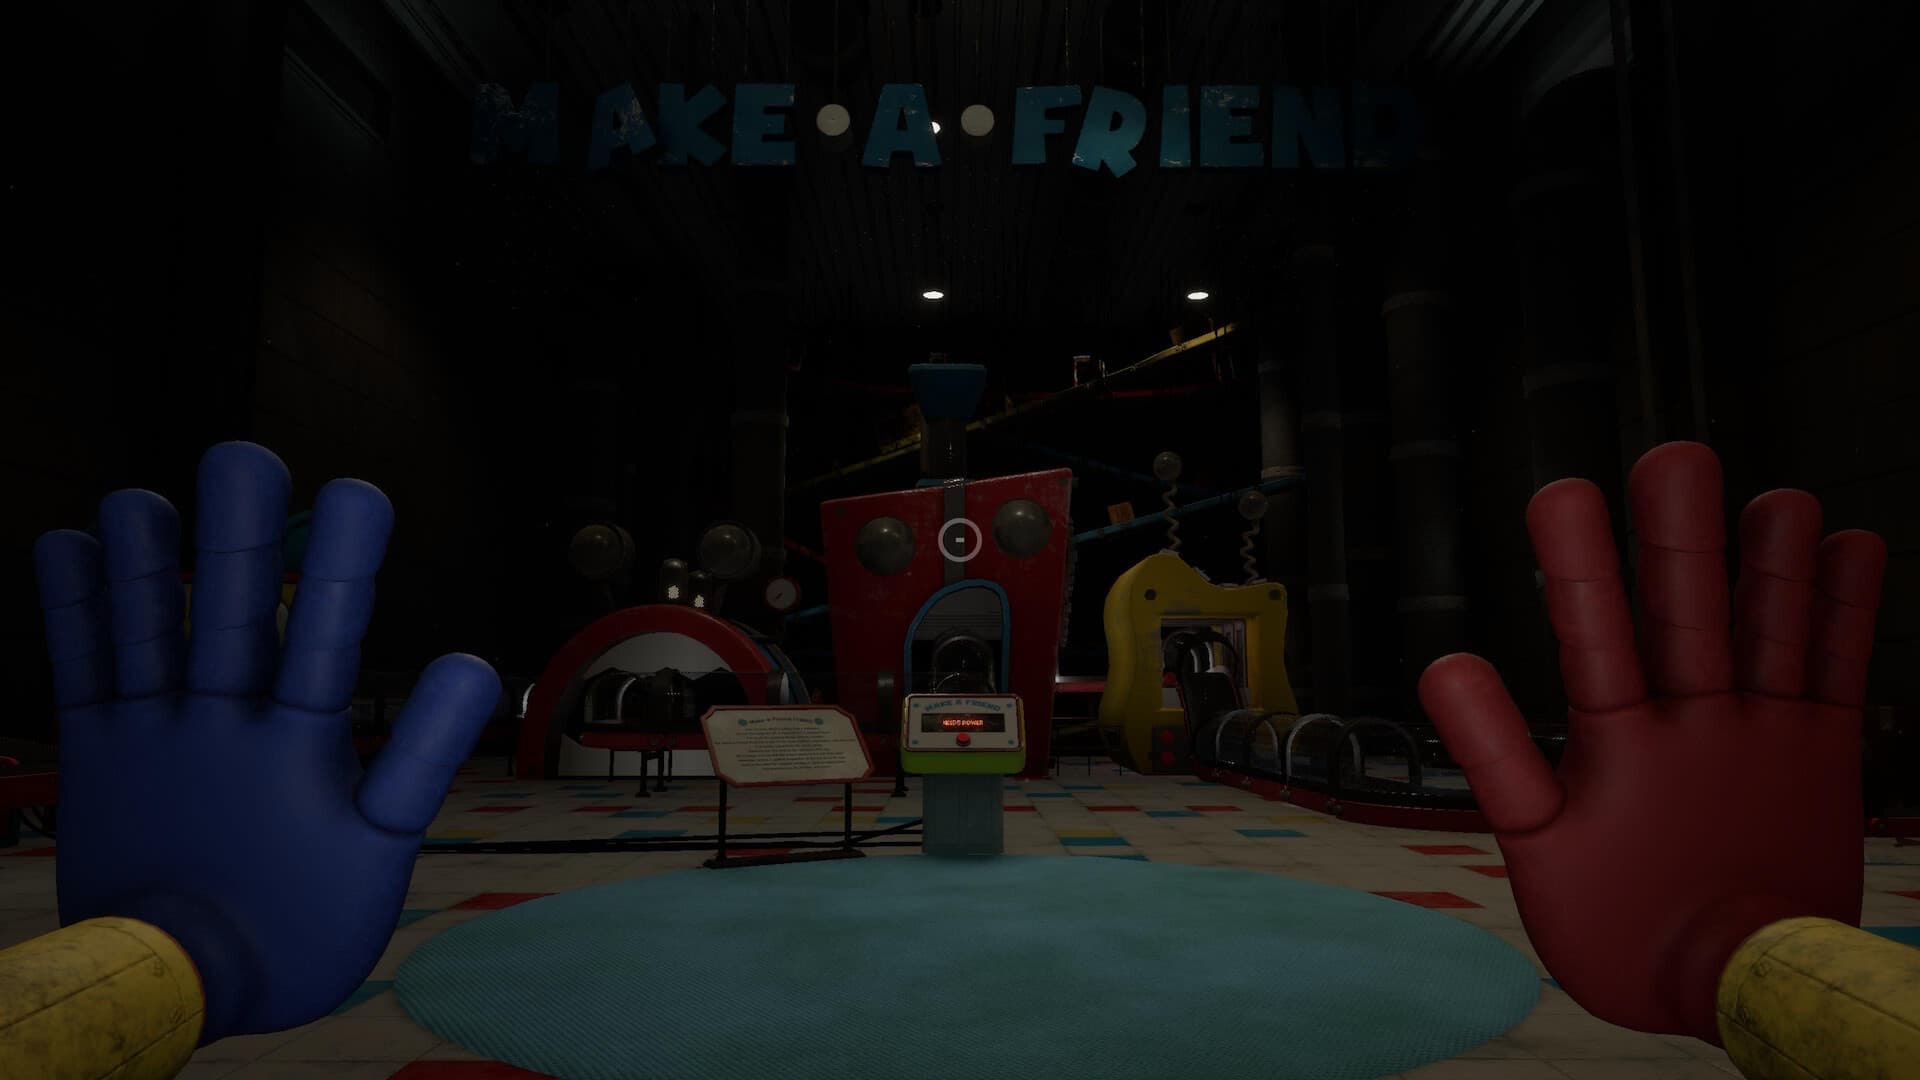
The factory floor that holds the Make-A-Friend machine. The Player restores power, builds a Cat-Bee toy and opens the exit gate with it. The pink Stella Greyber tape is by the catwalks.
A door with a large poppy flower painted around it leads to a hallway dressed like a child's room. At the end Poppy is kept in a glass case. Chapter 2 starts here.
The abandoned factory where all five chapters take place. It closed on August 8, 1995.
The old office of the founder, with children's drawings on the walls. The brown biography tape, the Experiment 814 note and a Daisy trophy are on the desk. A vent at the back leads on.
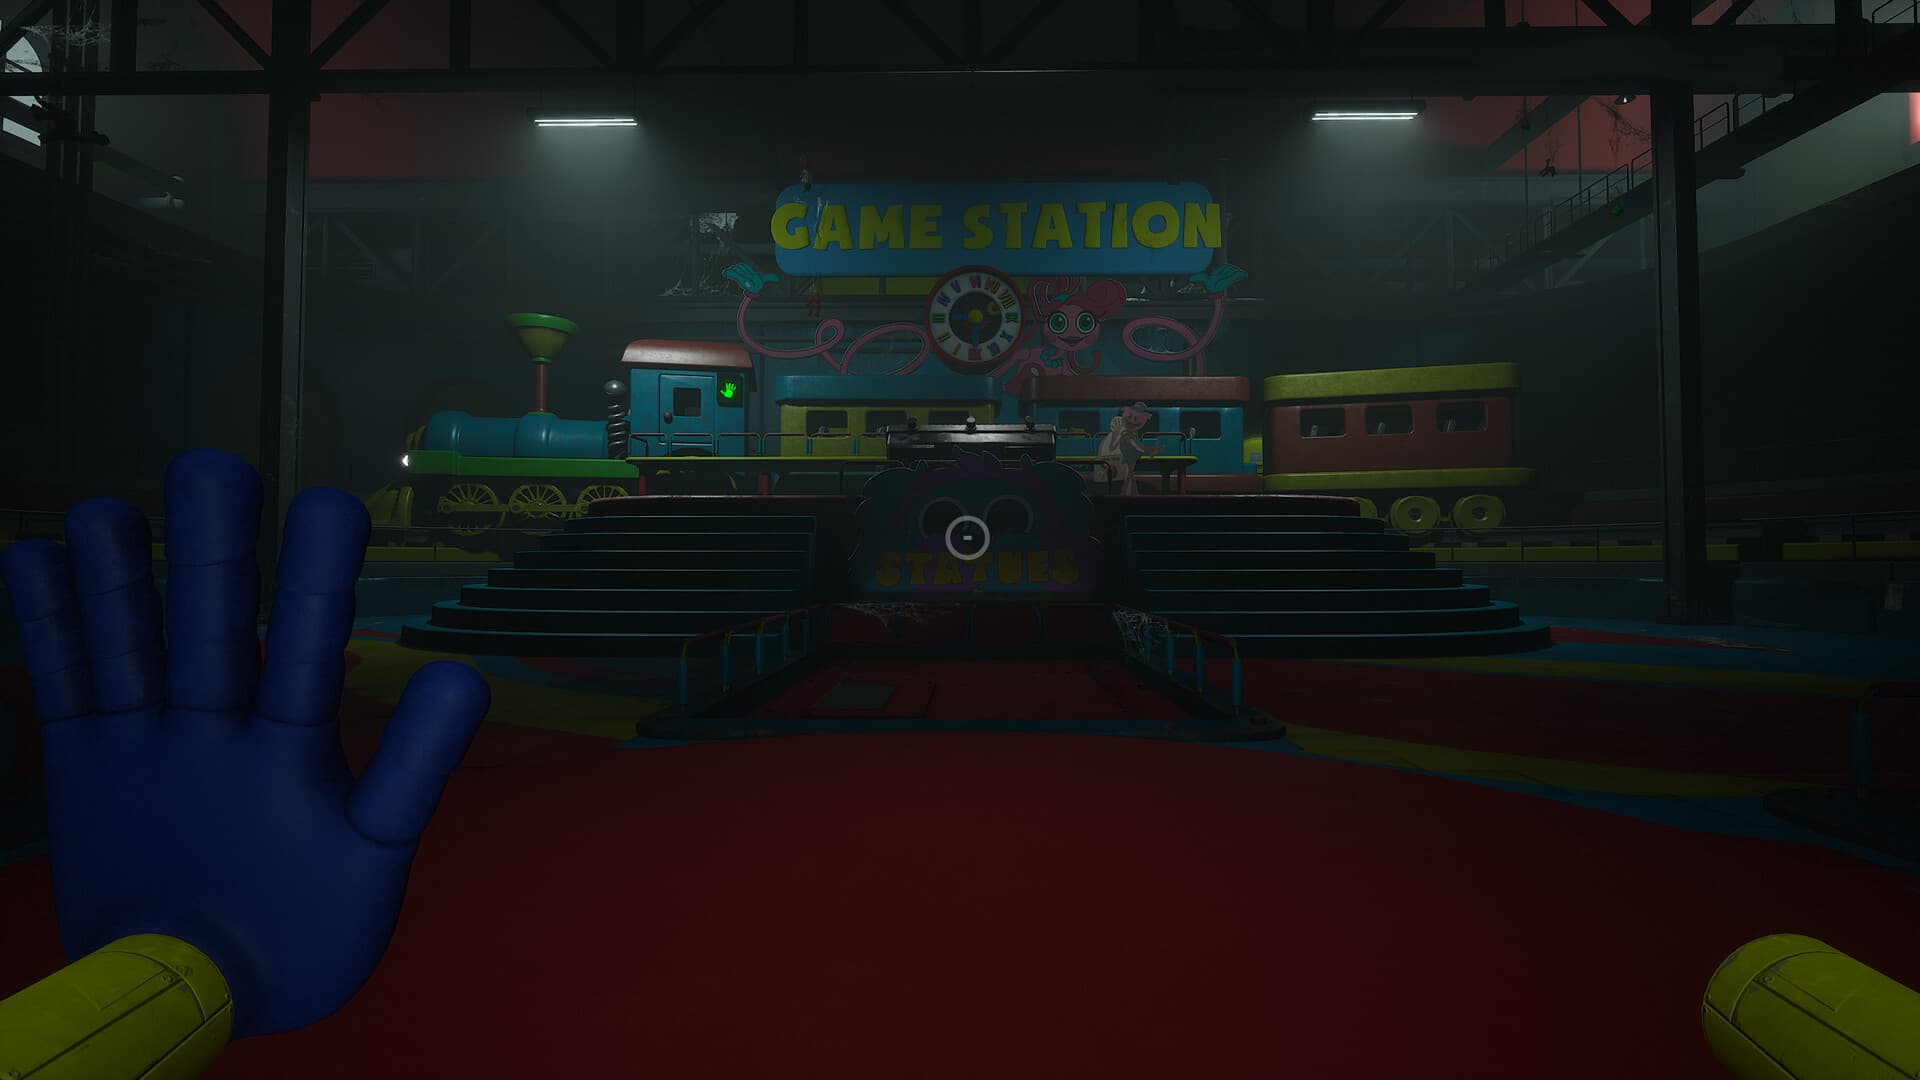
A very large underground play area with a playground, a train platform and a control panel with three levers. It links the three games. Staff notes say children were brought here by train to be tested. Mommy Long Legs lives here.
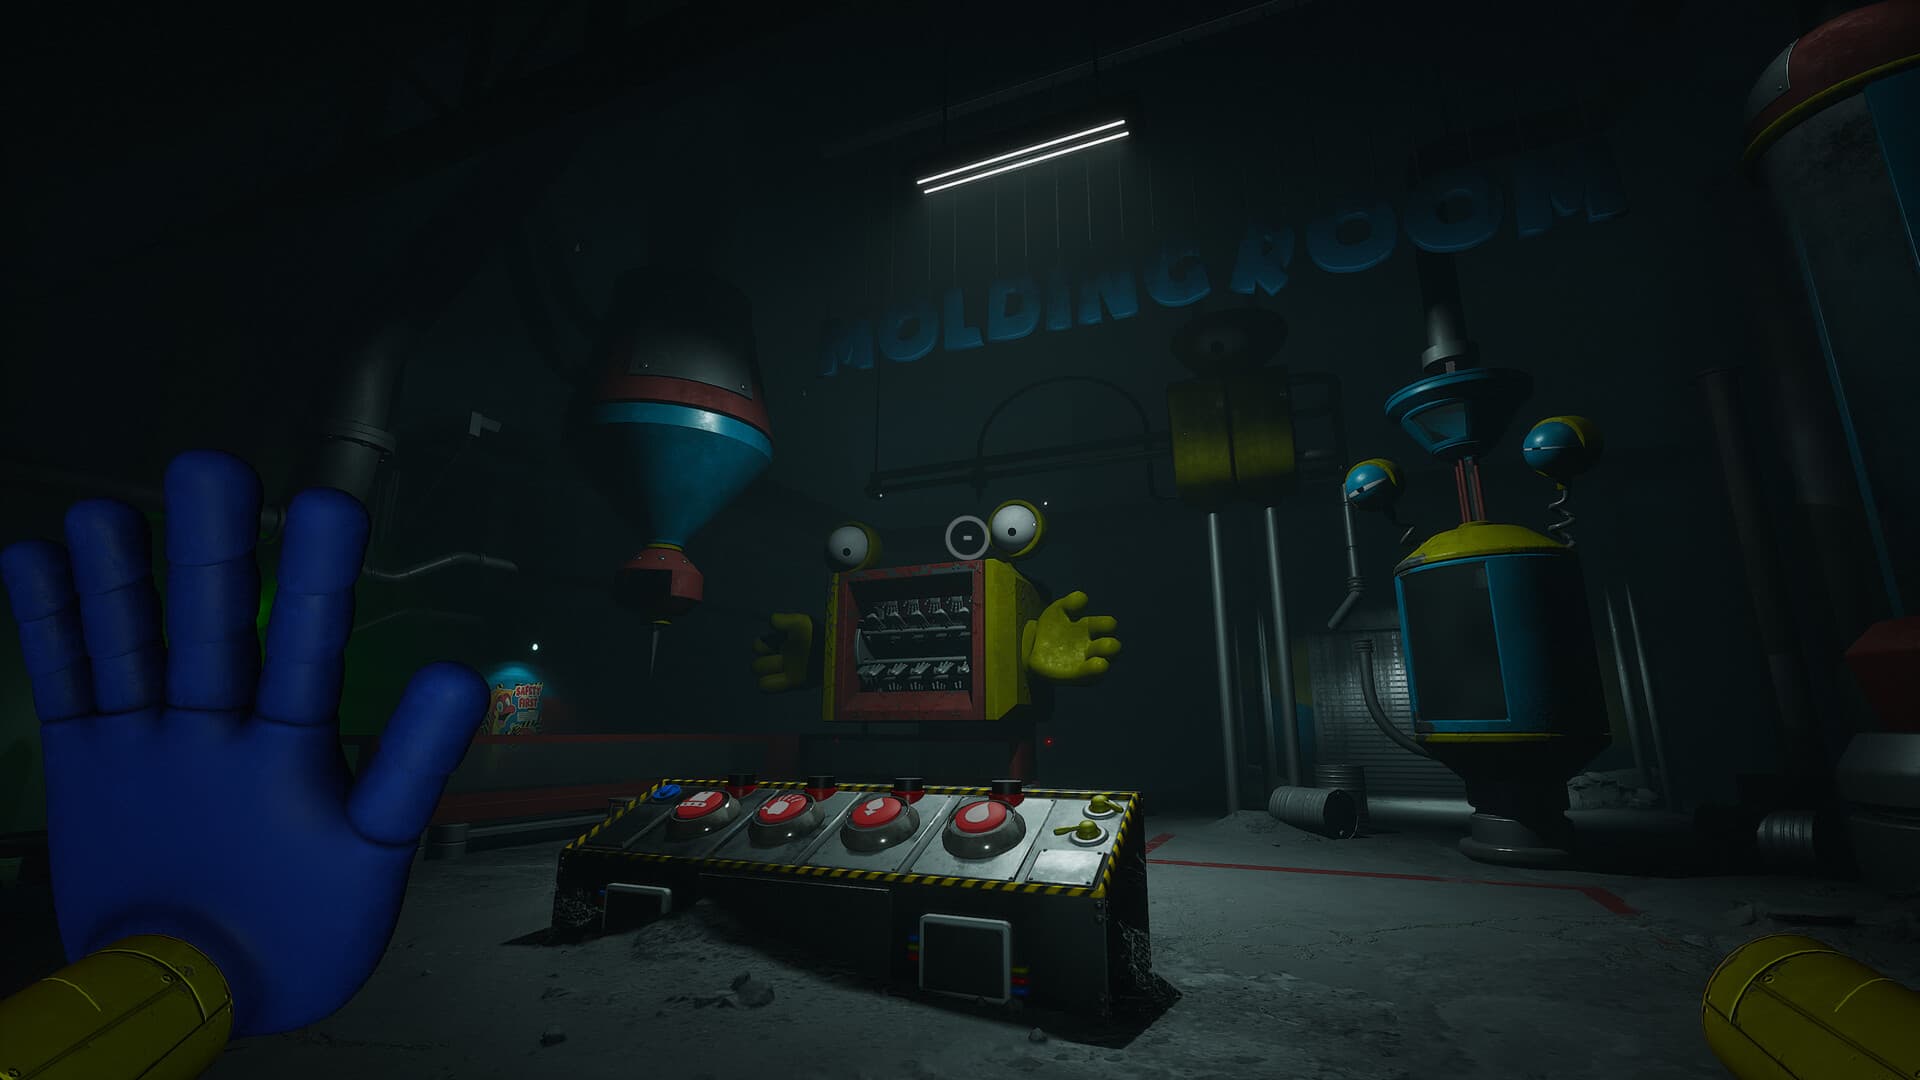
A room with a machine that melts, molds and paints GrabPack hands. The Player makes the Green Hand here. The green tutorial tape is on the control panel.
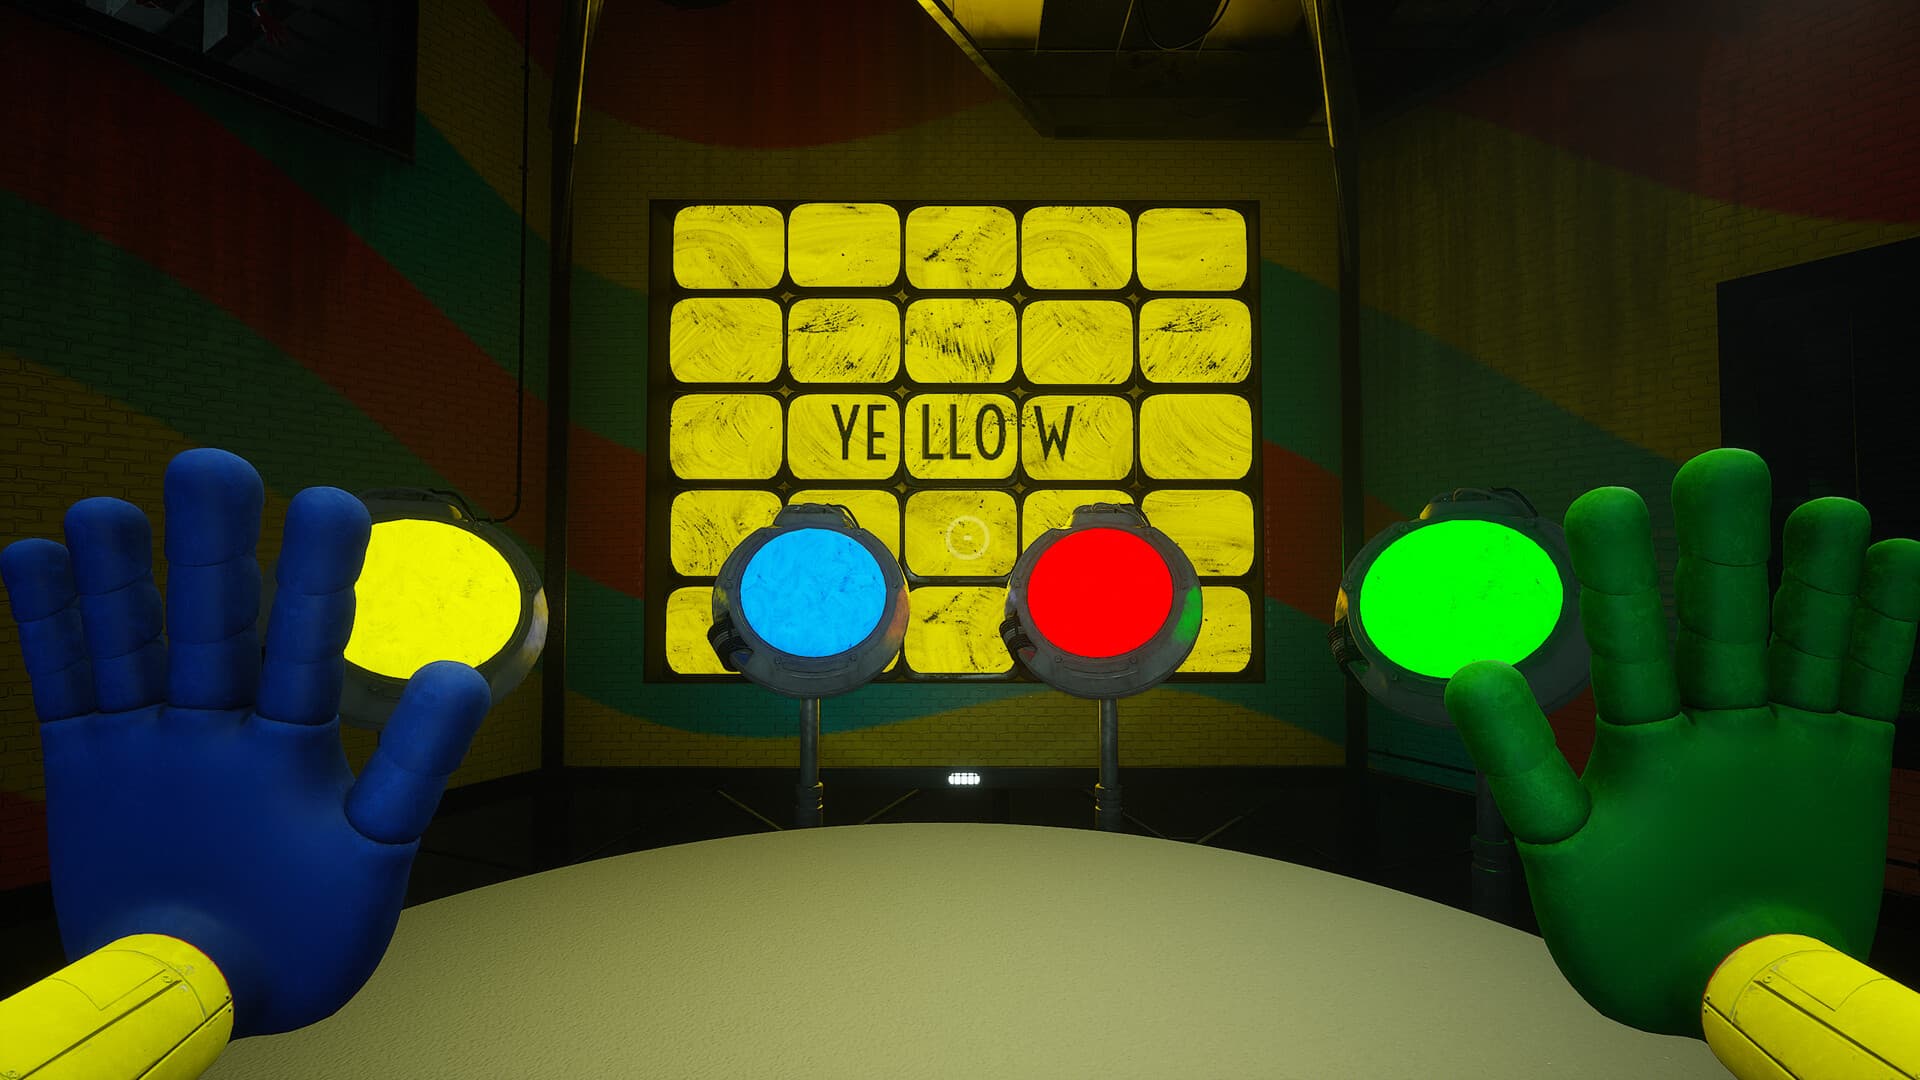
The first game. The Player stands on a platform in a tall room and repeats color patterns on buttons while Bunzo Bunny lowers from a tube above.
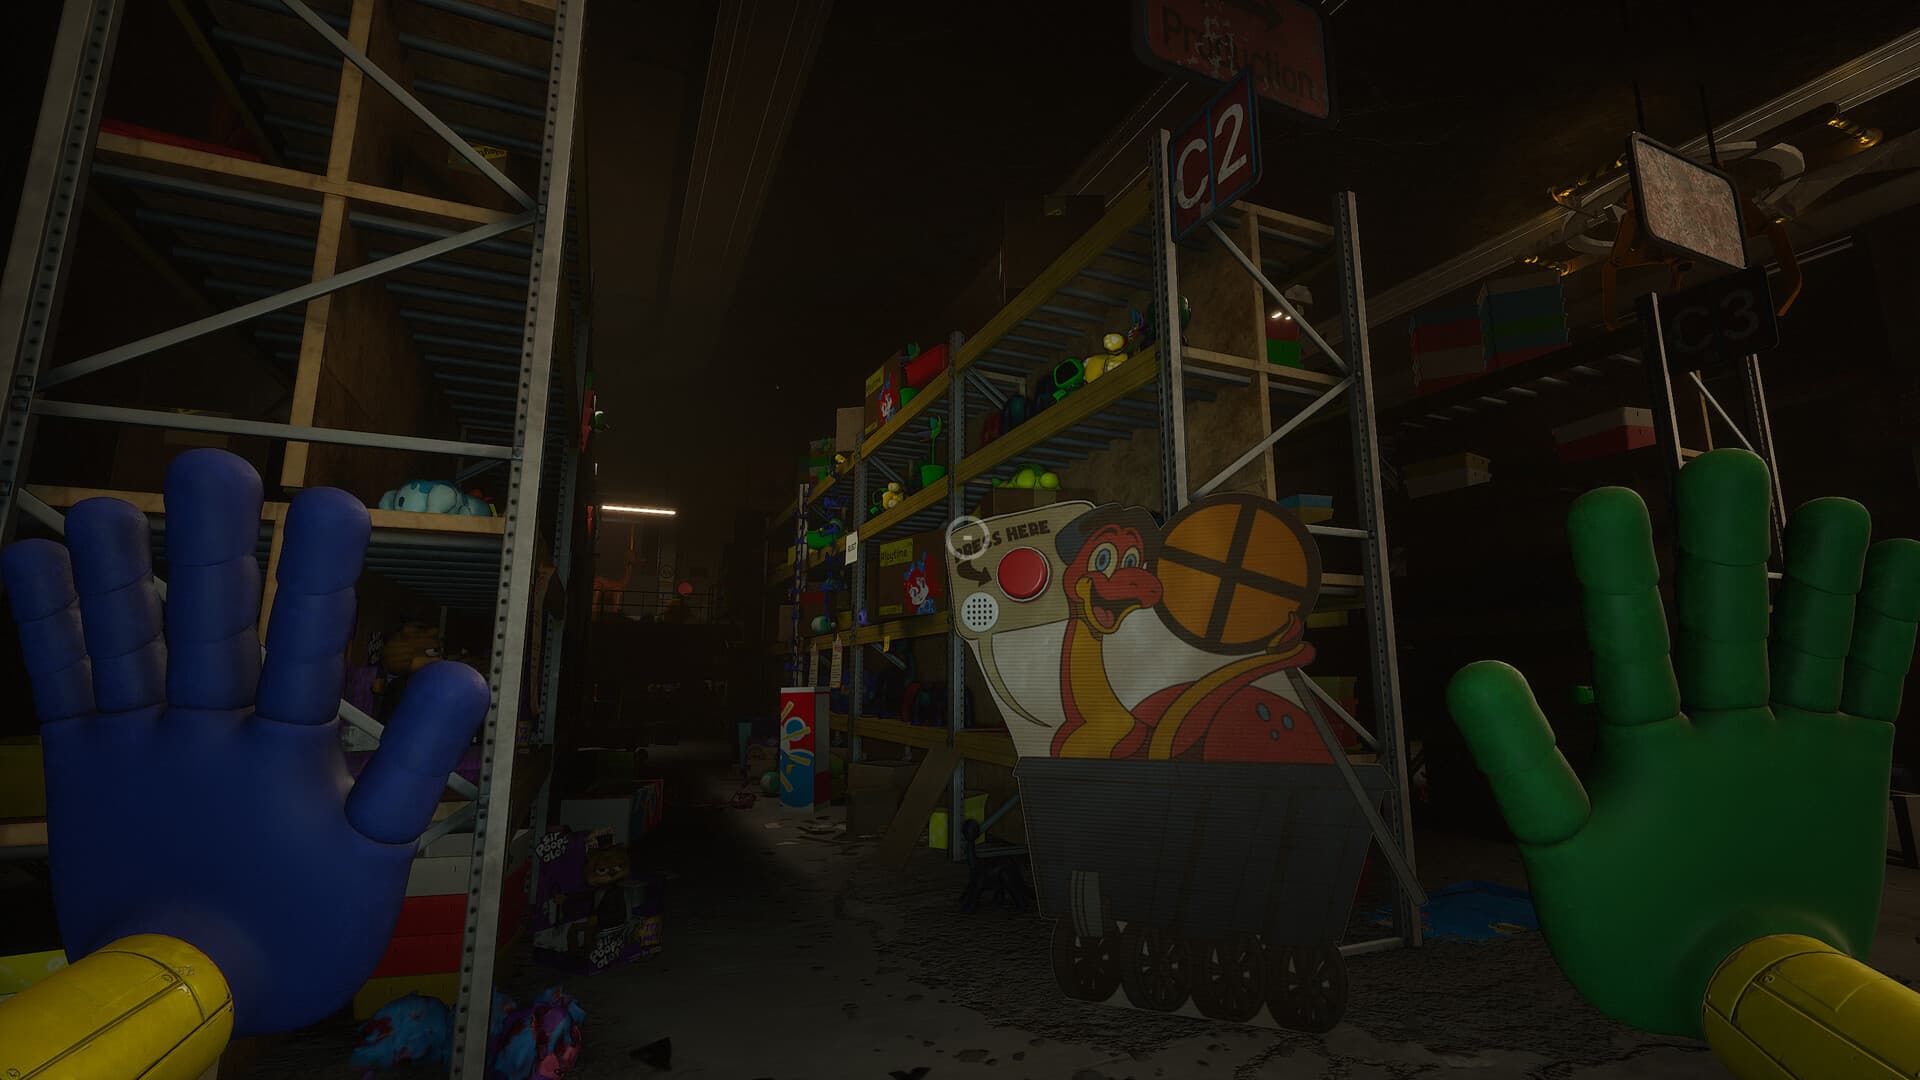
A storage room full of rejected toys and the notes that explain why they were rejected. A large Bron blocks a lift and a crane moves him. The cyan Rich tape is here.
The second game. A sand floored room with 18 holes in the walls from which the Mini Huggies crawl.
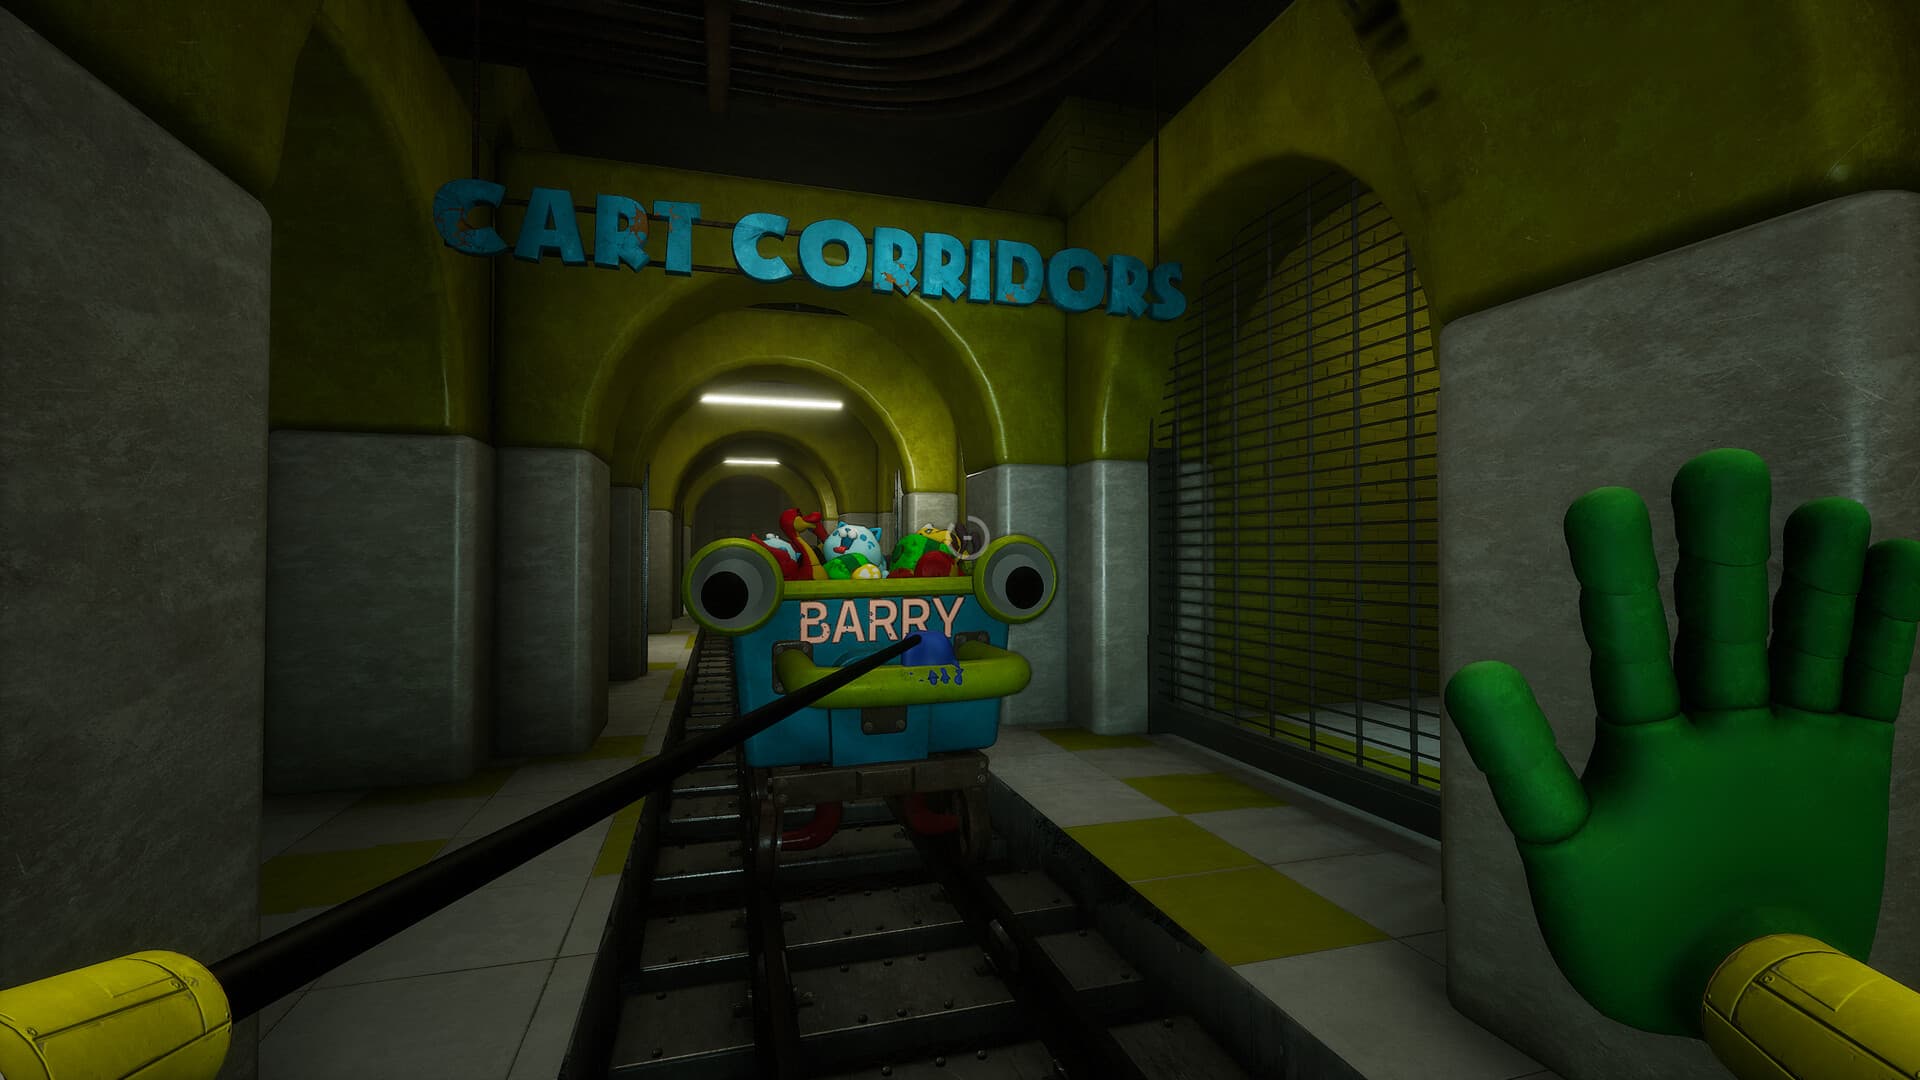
Corridors with a rail track. Kissy Missy opens the gate at the entrance. The Player pushes Barry the cart through and finds the Marcas Brickley tape in a locked side room.
The third game. An obstacle course where the Player may move only in the dark while PJ Pug-a-Pillar follows. The two assessment forms are on a desk in its watchtower.
A room with moving bridges over water. The Transfer Request, the Jimmy Roth tape and a Cat-Bee cutout are here. Blue fur is on the walls. Next to it, Bunzo Bunny toys run on conveyor belts.
A room with a furnace inside the hide and seek area. The Player casts a gear from a mold to open a gate and hides from Mommy Long Legs.
A rusted room of pipes and stairs that leads from the grinder back to the Game Station. The black Log 08502 tape is on its top floor.
The platform and train inside the Game Station. Staff notes say the train brought the children in at 8:00 a.m. The Player enters the Train Code here and rides the train until it derails by a Playcare sign.
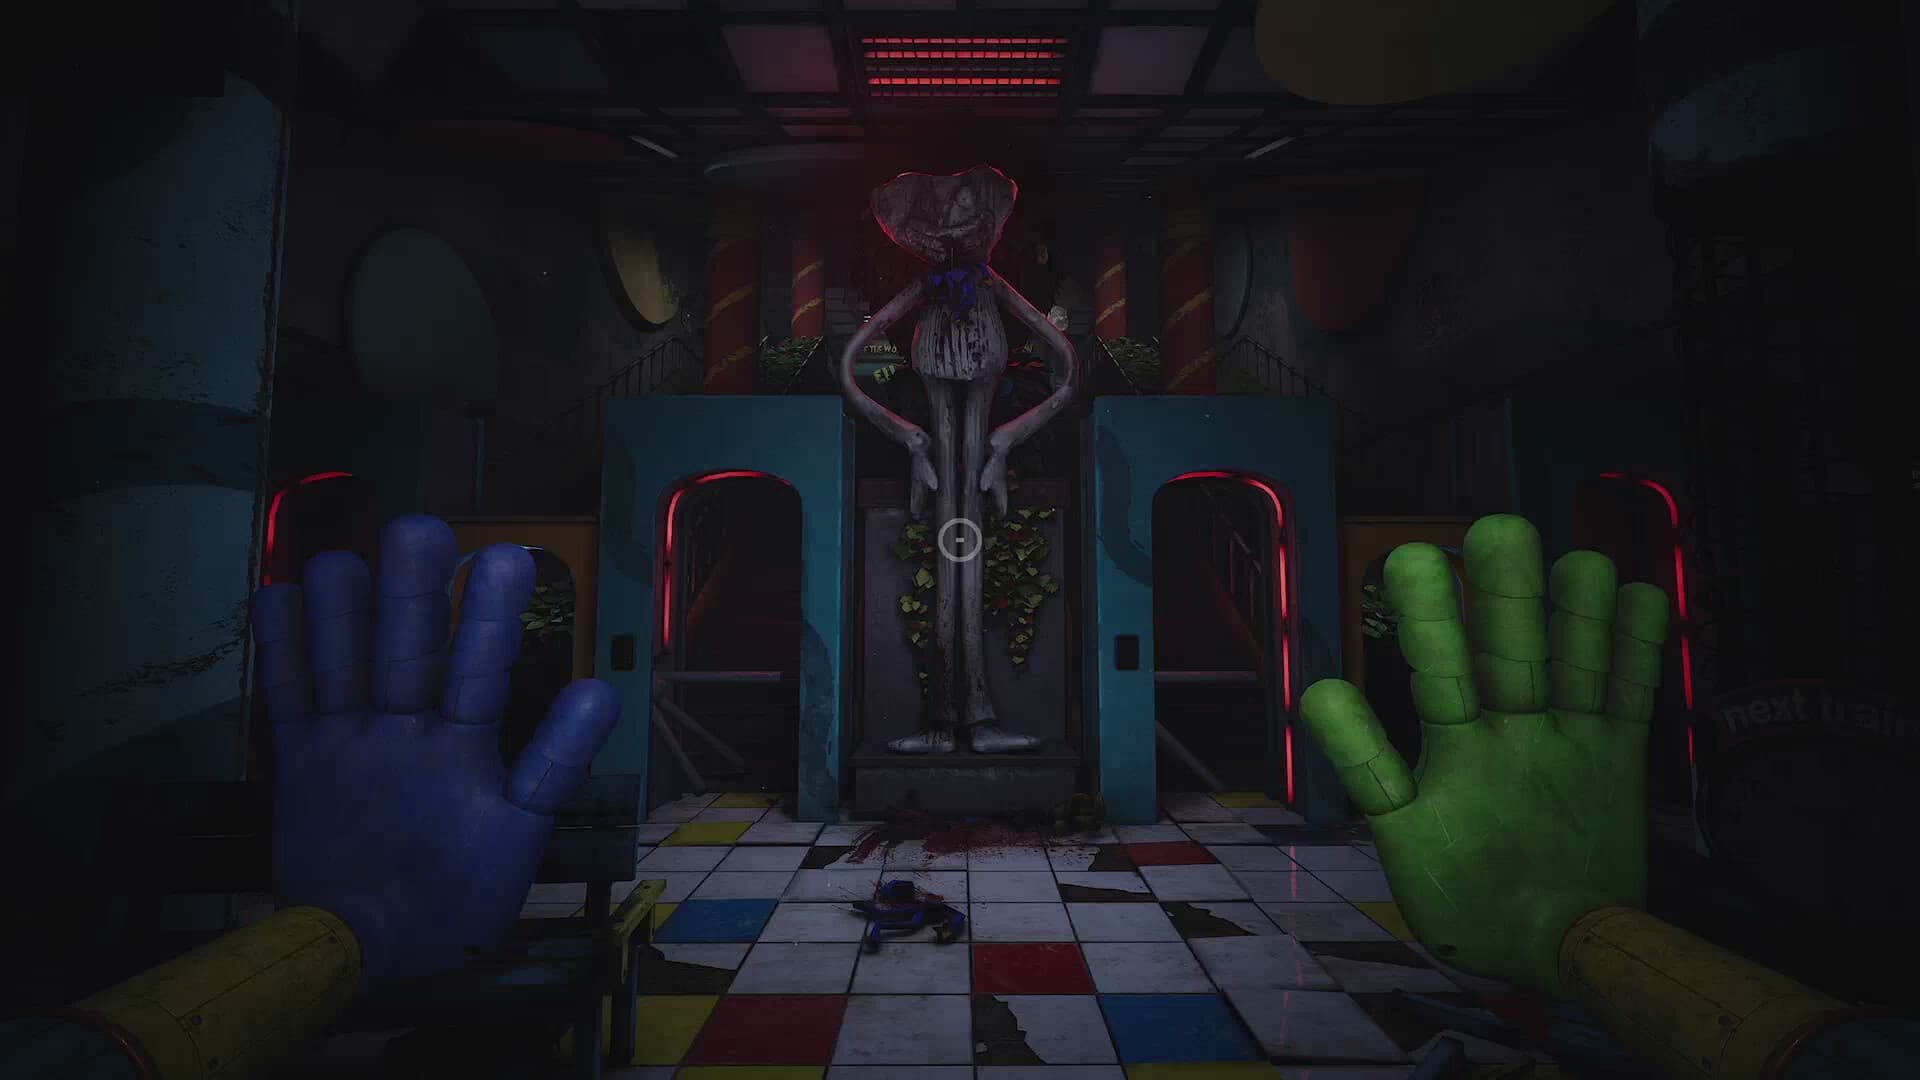
Playtime Co.'s on-site orphanage, built underground inside a large dome with a painted sky. The player reaches it by cable car. A statue of the Smiling Critters stands in the middle, with the buildings around it. Ollie calls it the home of CatNap.
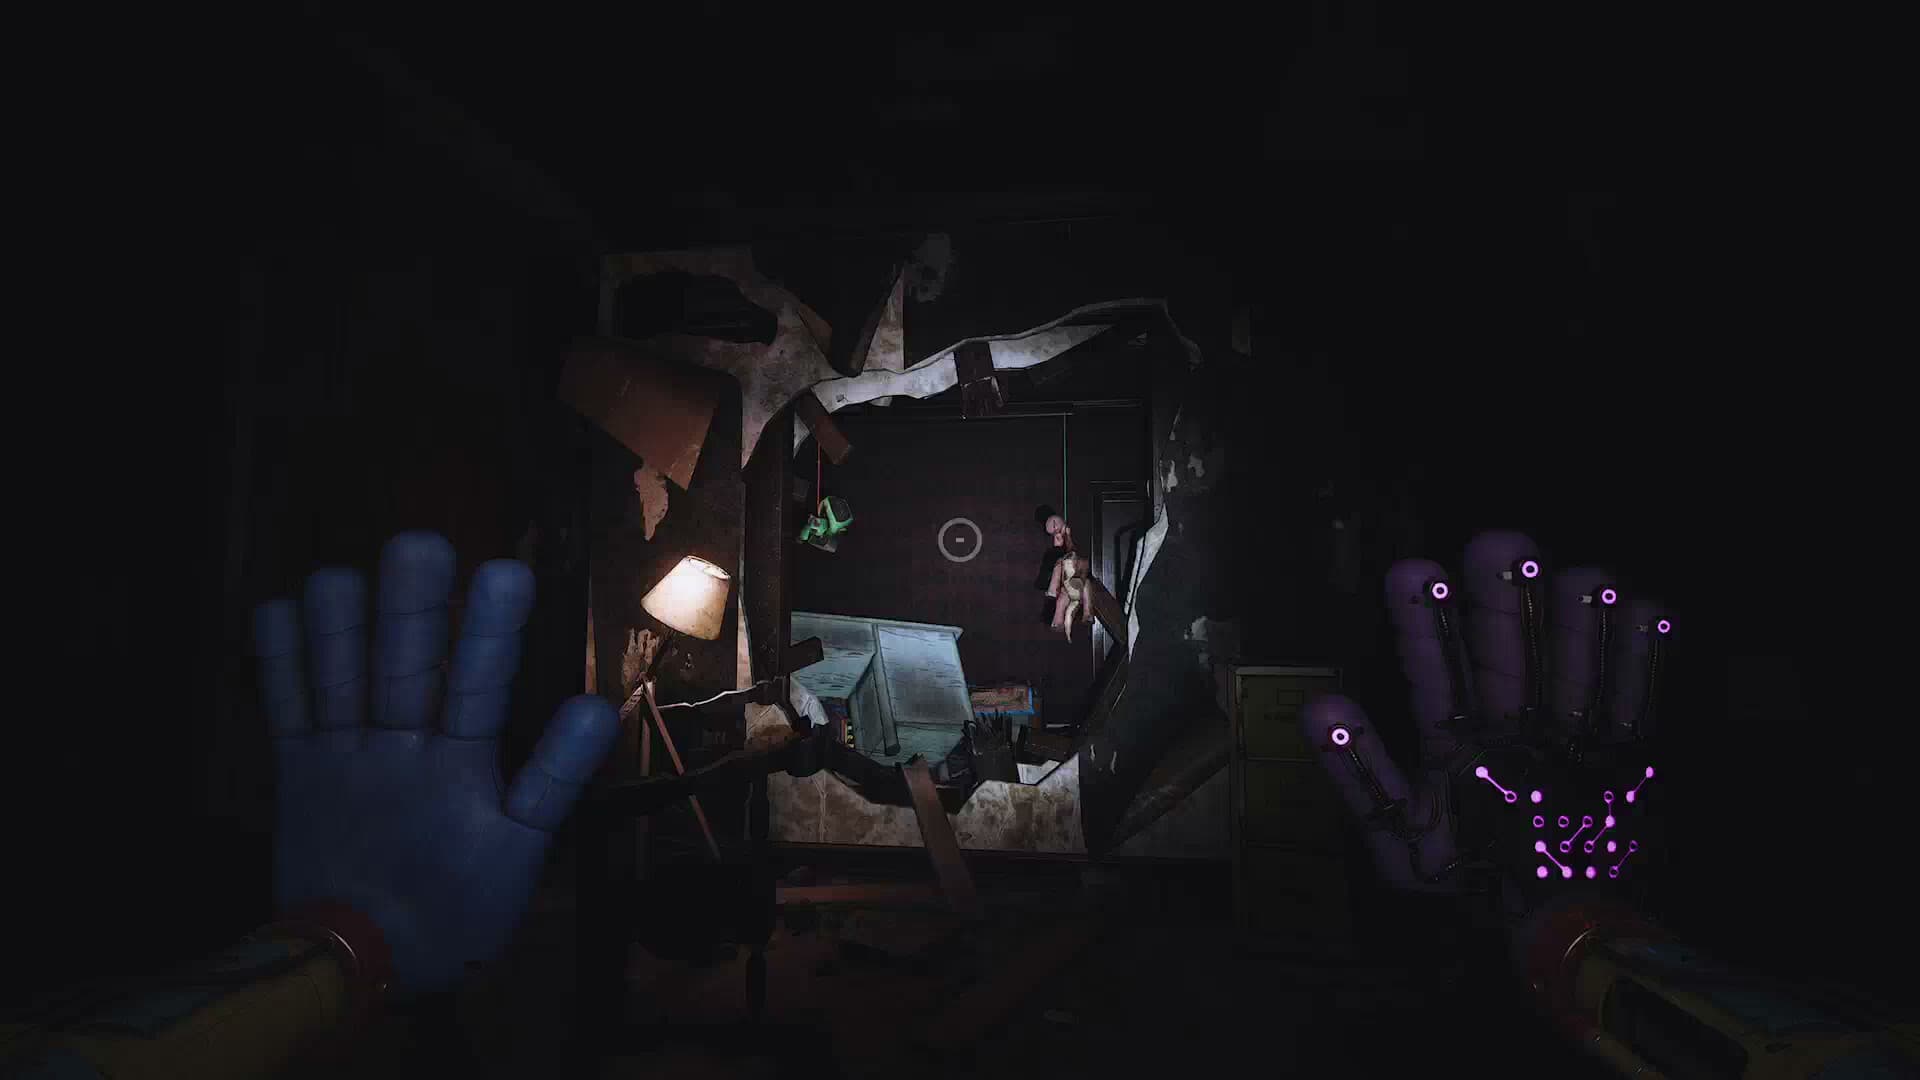
The house in Playcare where the orphans slept. It is full of bunk beds and has hidden staff areas.
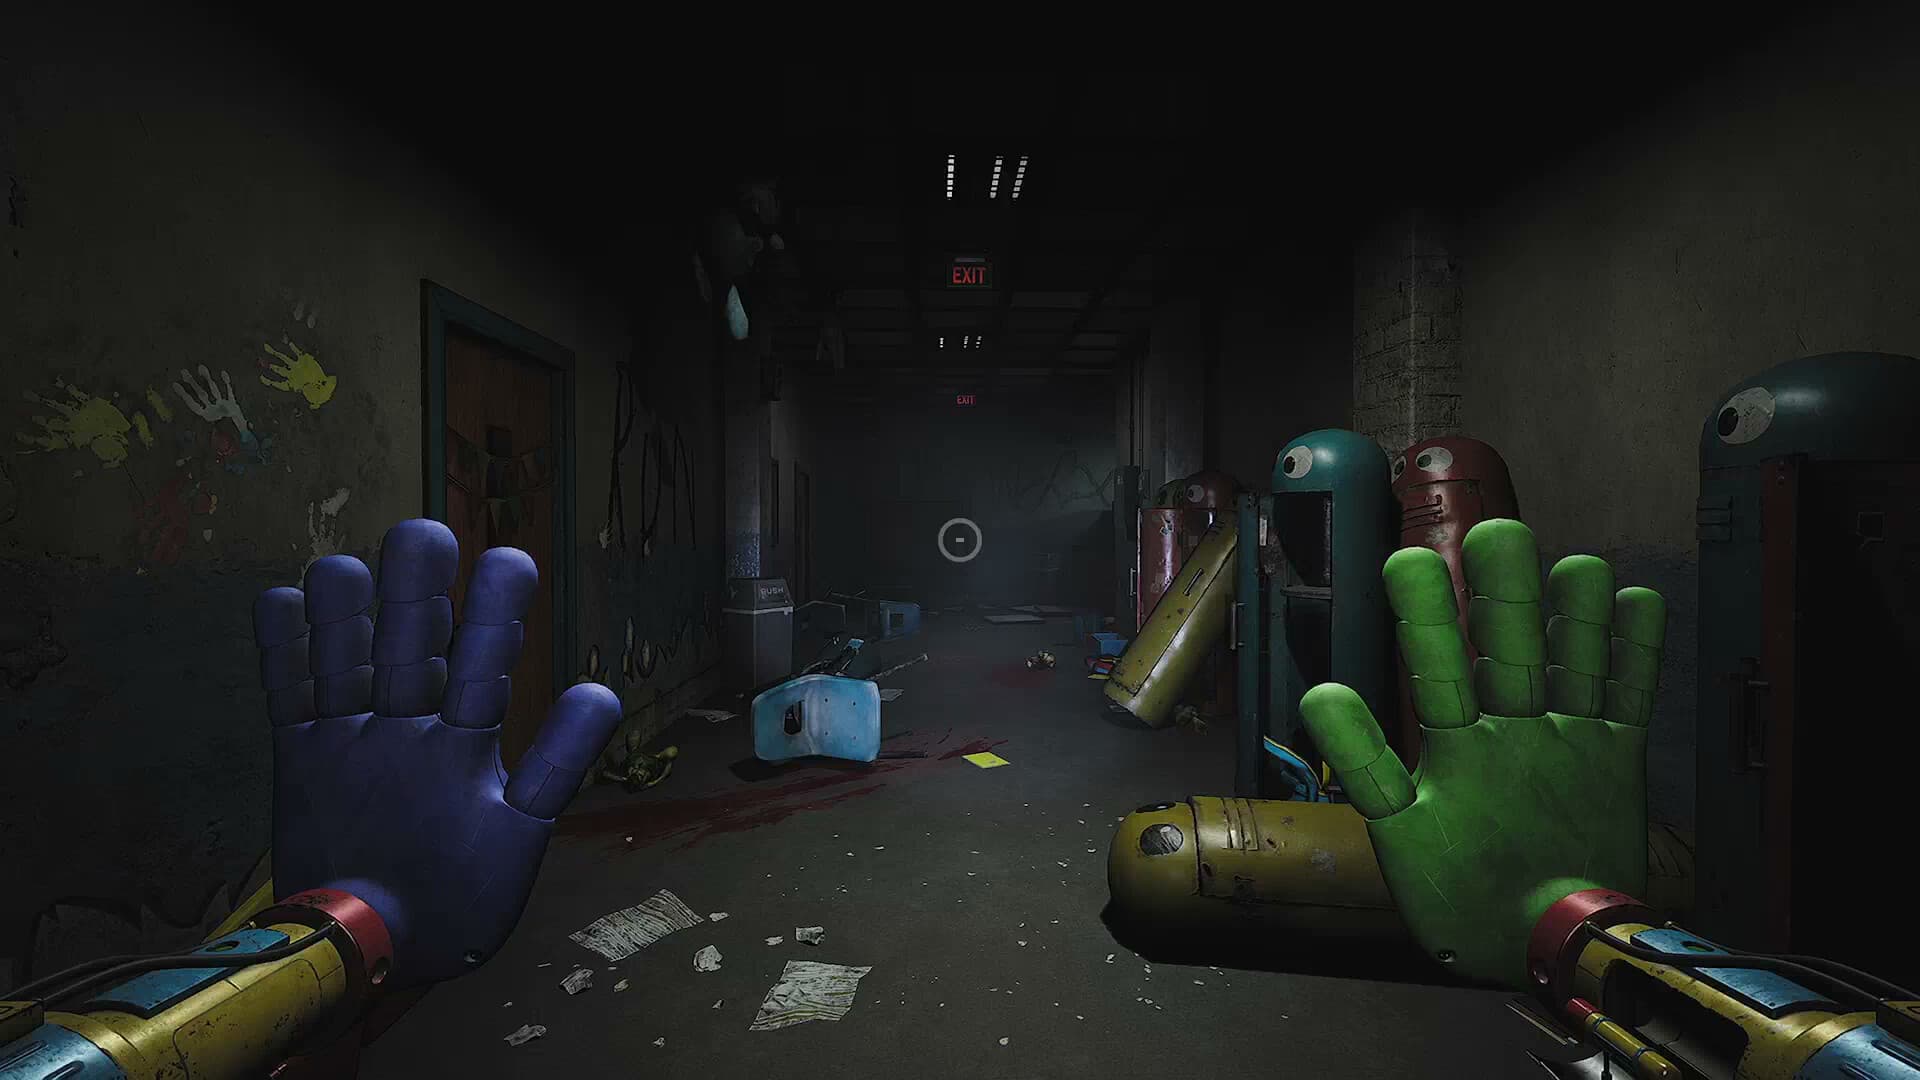
The Playcare school building. Miss Delight lives in it. The Player starts its backup generator, loses it to Miss Delight, and leaves through a maintenance exit after she dies. The game calls it the School.
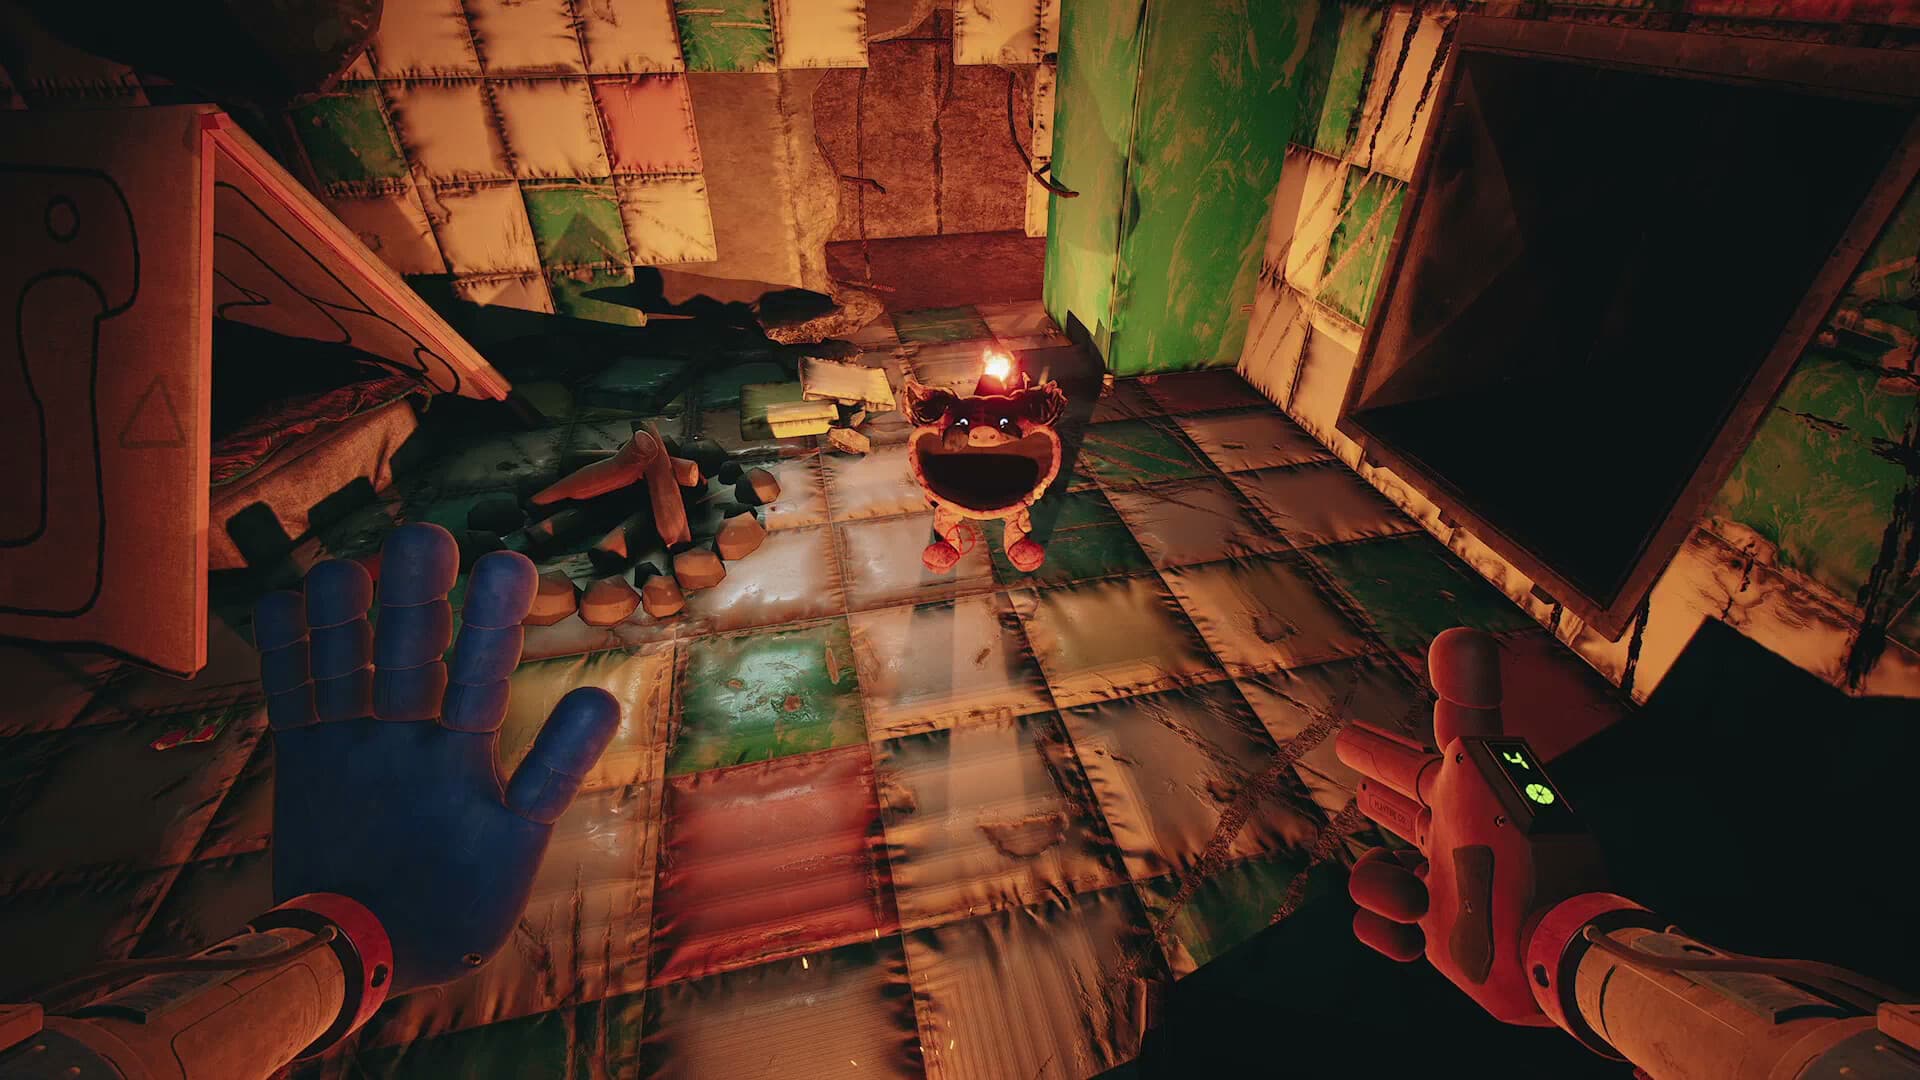
The play building in Playcare, shaped like a circus tent outside. Inside is a maze of padded rooms and tubes full of Ruined Critters. DogDay is held in a cell below it.
A stone office building in Playcare for the counselors. It holds Stella Greyber's office. CatNap attacks the Player here and removes their gas mask.
The plant where the Red Smoke is made. A large machine with three tubes controls where the smoke goes. The GrabPack 2.0 is found in a side room. The door is beside the cable car in the Playcare dome.
A room above the Gas Production Zone reached by lift. Poppy says it used to be a sort of panic room. The Player fights CatNap here and the Prototype kills him here.
A room in the Gas Production Zone with a large hatch over a lift. Poppy plays the Hour of Joy tape here and the chapter ends on the lift. The objective text reads REGROUP WITH POPPY IN THE HATCH ROOM.
The cable car that carries visitors down into Playcare. A recording of Elliot Ludwig plays during the ride. A sign reads "See the world through the eyes of a child on Elliot's Express".
The compactor and maintenance rooms where the chapter starts. CatNap drops the Player in through a chute. The first phone call from Ollie and the Claire Harper Debrief tape are in this area.
The cave system outside the Playcare dome, crossed on catwalks between the School and the Playhouse. CatNap's shrine to the Prototype is here.
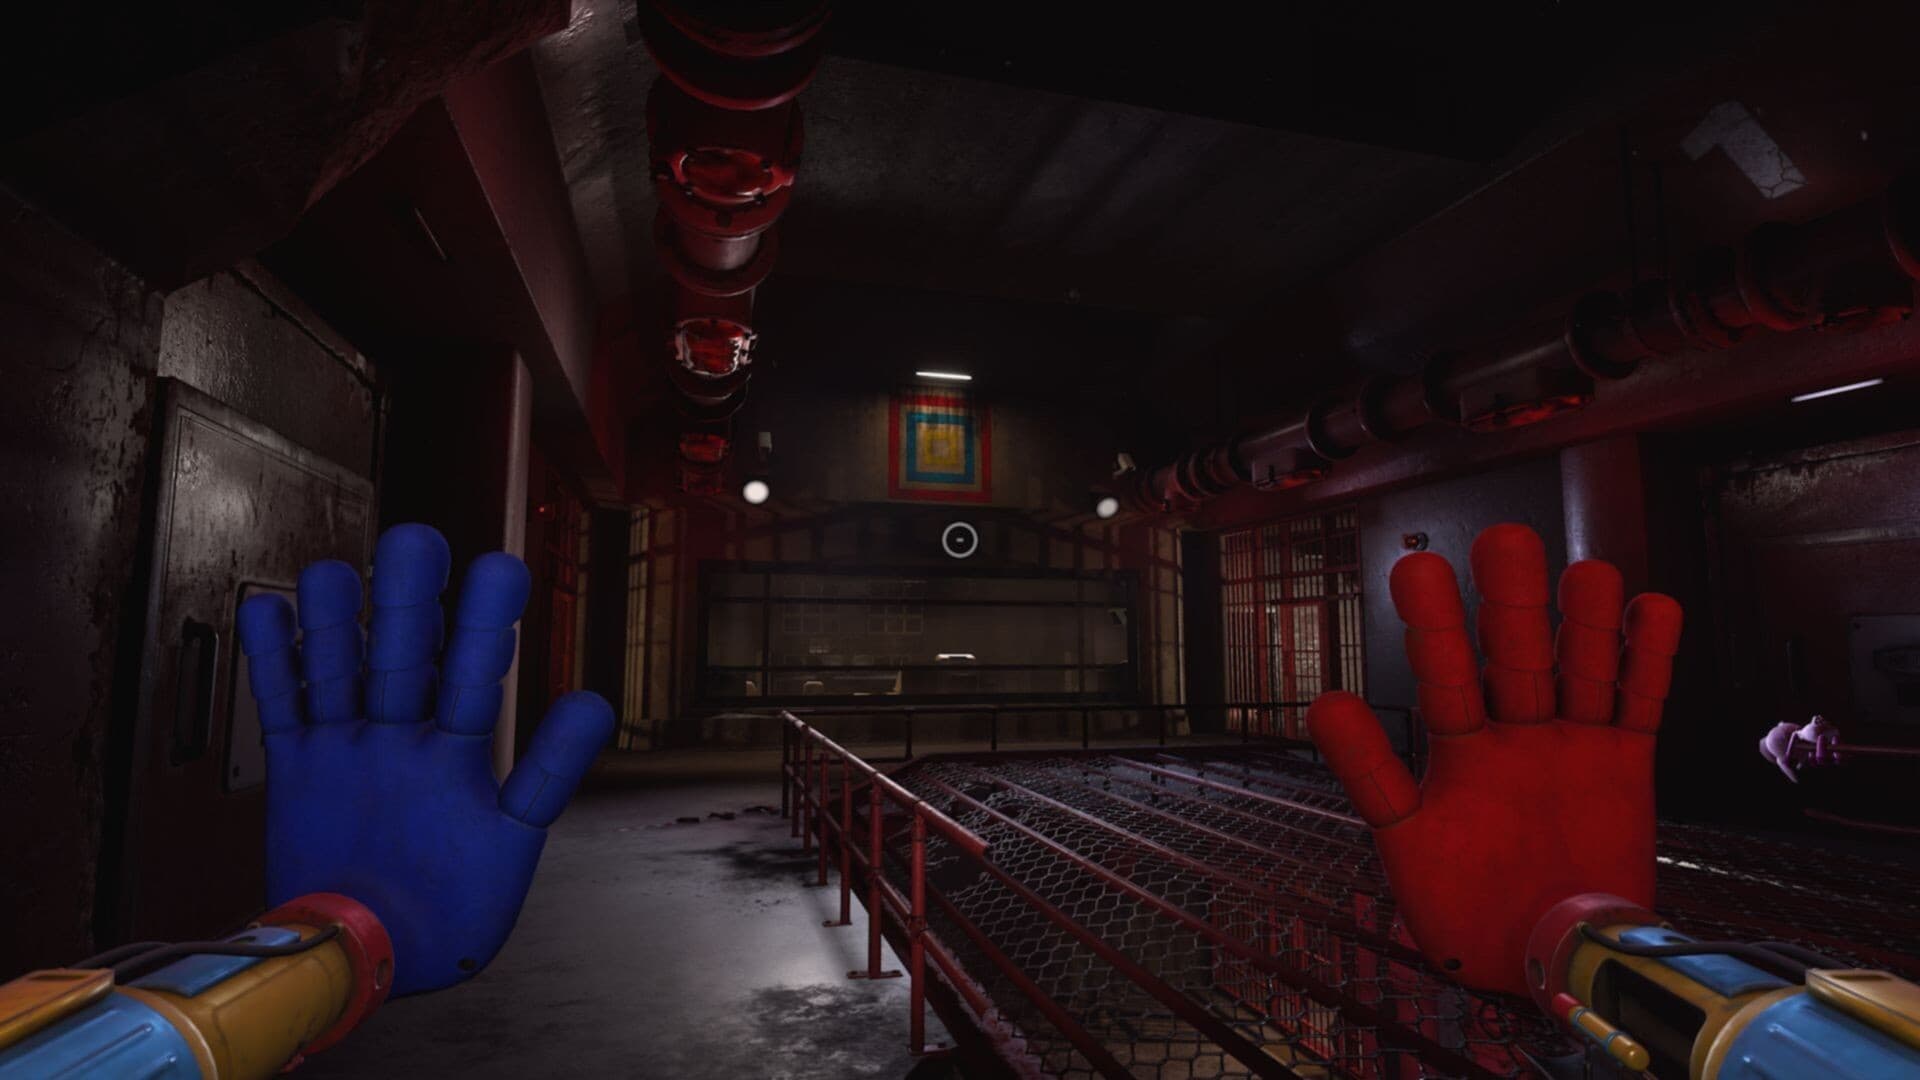
An underground prison built to hold Bigger Bodies experiments. It has cell blocks named East, West, North, Northeast and Northwest around a lobby. Since the Hour of Joy the Doctor has controlled it with an Omni-Hand. The official character pages call it the Shelf.
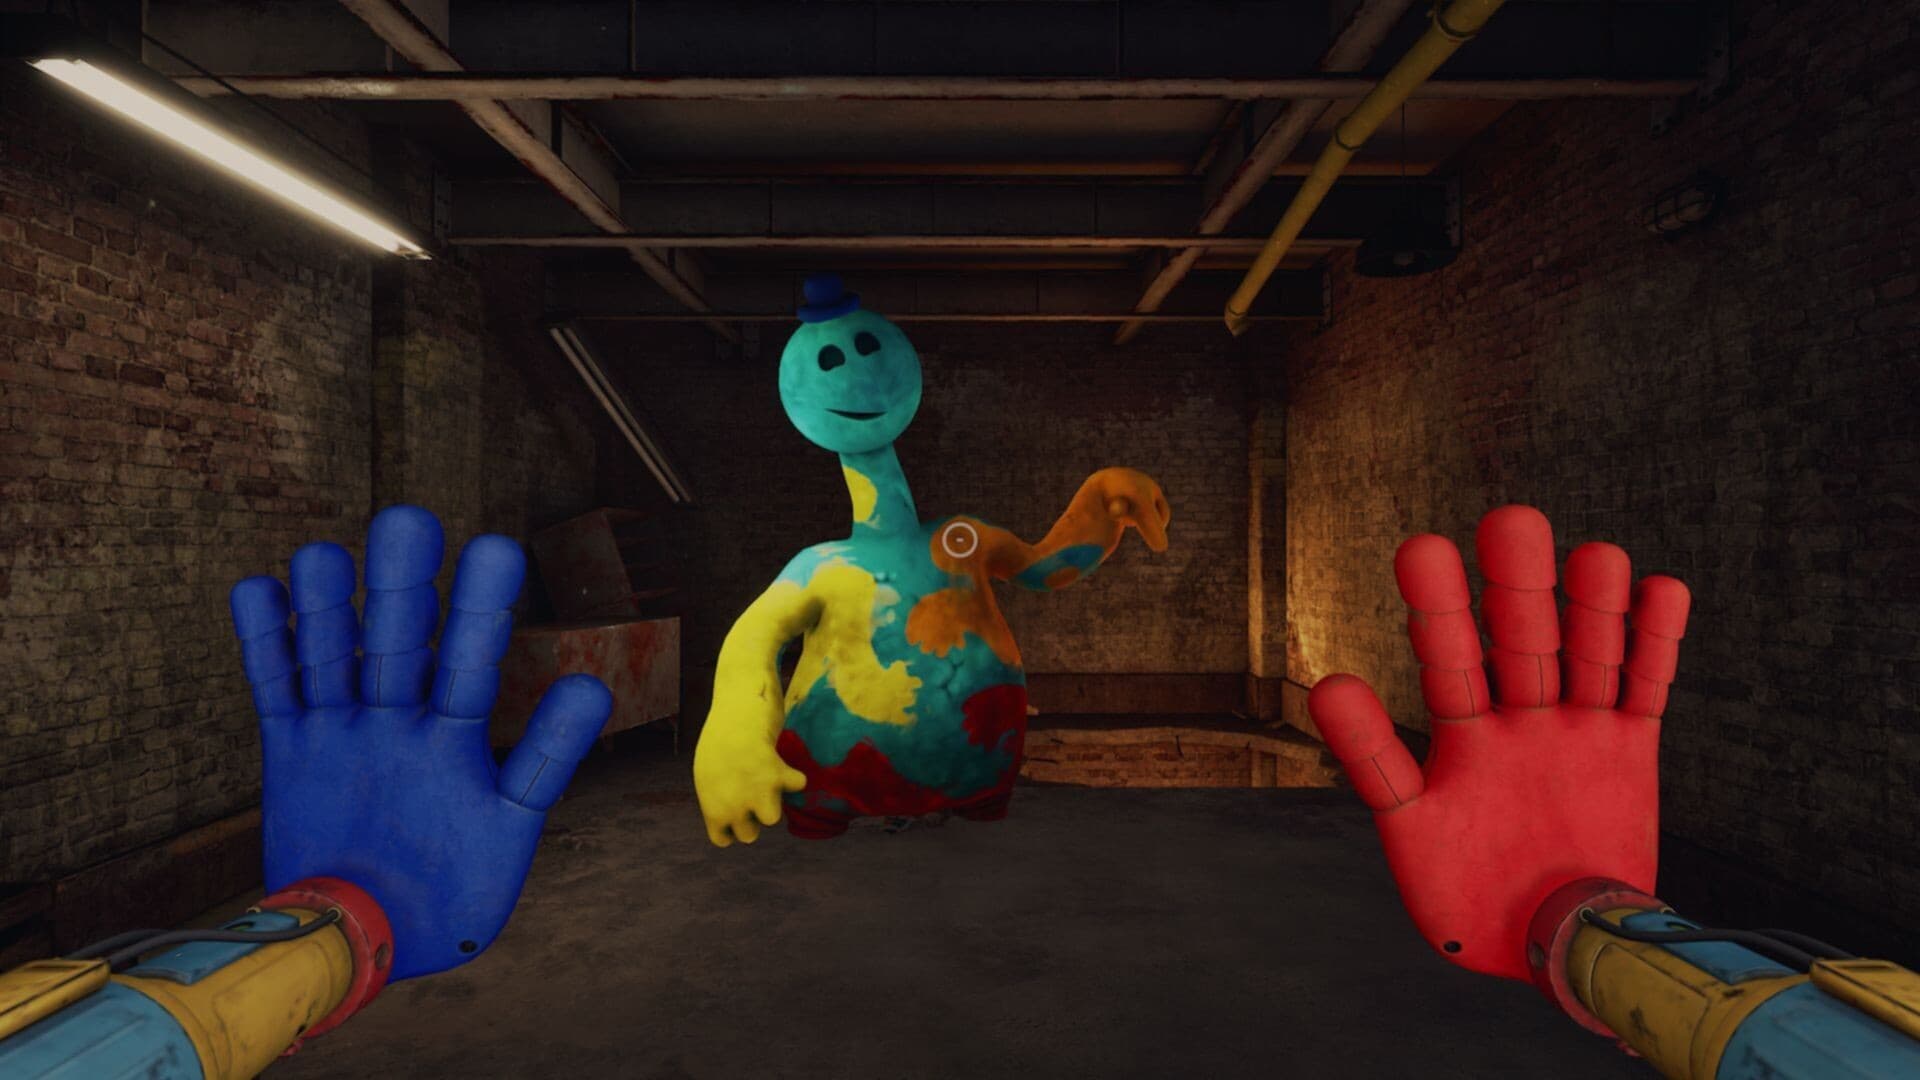
A fortified security bunker near the prison with its own generator and power grid. Doey and the last peaceful toys live there. It has a lobby, a generator room, an Infirmary, showers and a shipping area. It is destroyed by an explosion late in the chapter.
The lift control room where Poppy leaves the Player at the start of the chapter.
Caves outside the prison filled with piles of dead toys.
The train station outside the prison. The train once carried captive experiments inside. The Player powers it and the Doctor crashes it.
An optional office off the prison lobby that holds the tape 'Warden Office 8/8/1995'.
Observation rooms and storage rooms where experiments were kept apart and studied. The Doctor releases Yarnaby here.
A records room the Player crosses after the first Yarnaby chase.
The cell below a broken ledge where Pianosaurus charges the Player and Doey kills him.
Also called the Prison Yard. A former work yard with numbered towers. Doey says guards put prisoners here at night with food for only one of them.
A large cavern between Safe Haven and the Doctor's territory, rigged with freezing traps and patrolled by Yarnaby. Yarnaby dies at its far end.
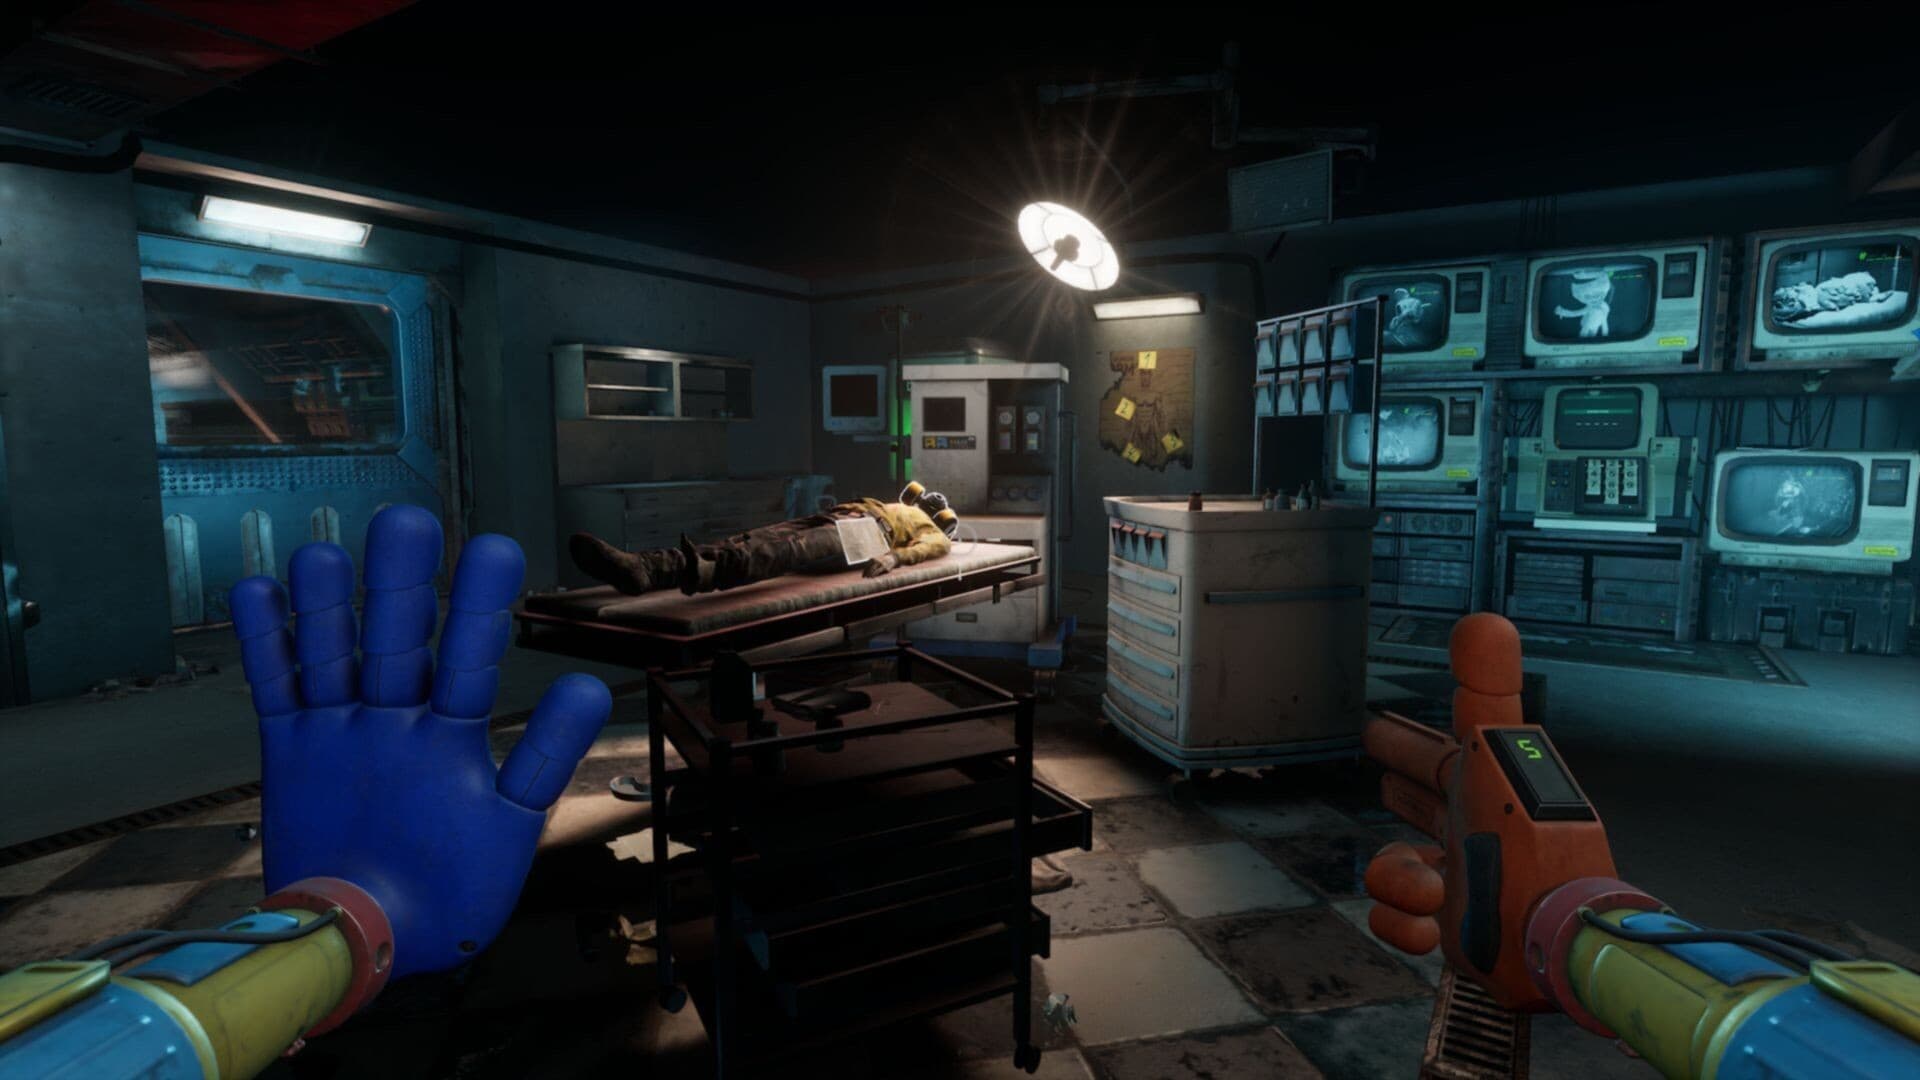
A maze of operating rooms filled with Red Smoke and dead experiments. Dr. White ran it. The Doctor's liver is kept here.
The Doctor's lair. A room of monitors around the tank that holds his brain, with a server maze below and Sawyer's Office upstairs.
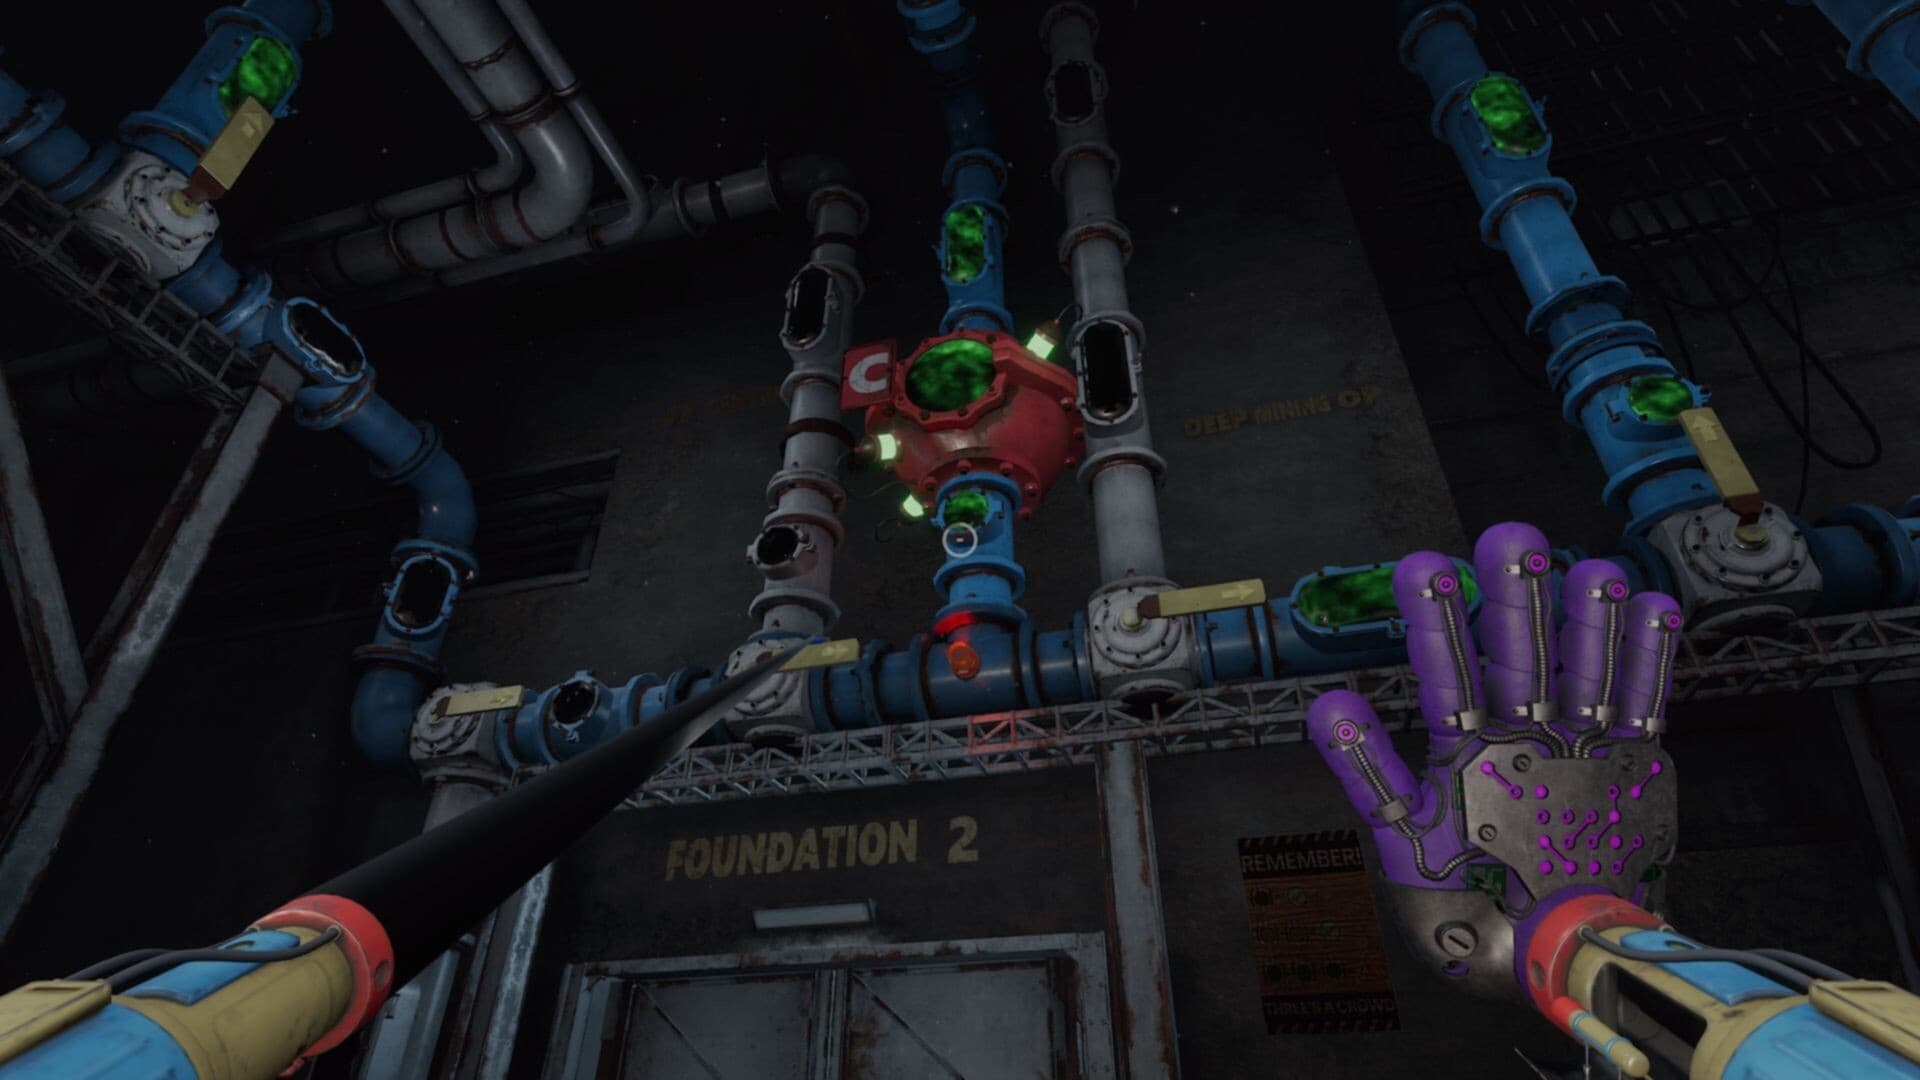
The base of the factory, with mines, a gas room and a control room. The Player plants four explosives here and starts the Red Smoke overflow.
The underground construction site where the Player fights the enraged Doey with liquid nitrogen and saws.
The ventilation room where Poppy and Kissy hide after Safe Haven falls and where the Prototype reveals himself.
The entrance to the Labs at the bottom of the factory, beside a garden of poppy flowers. The chapter ends here.
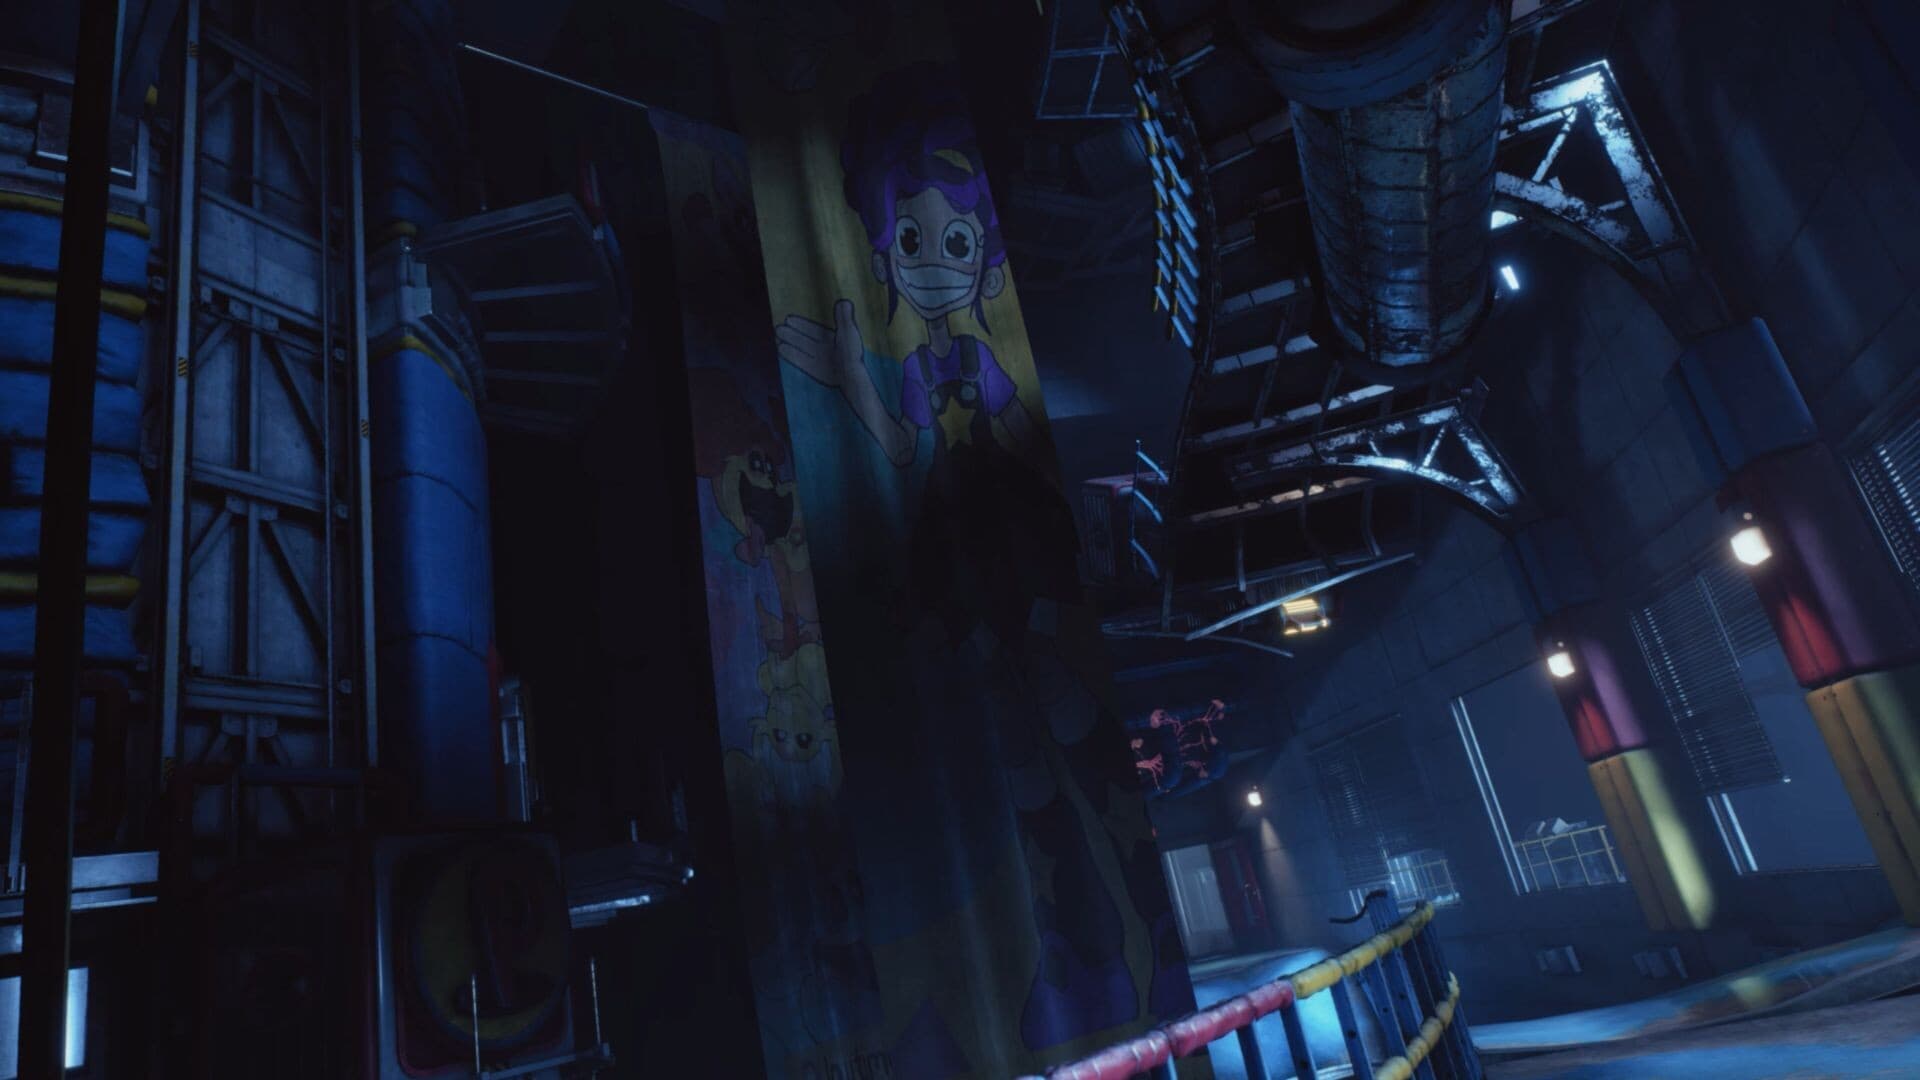
The Playtime Laboratories, the part of the factory where Playtime Co. made, conditioned and tested its experiments. All of Chapter 5 takes place in and under it. It is the Prototype's territory.
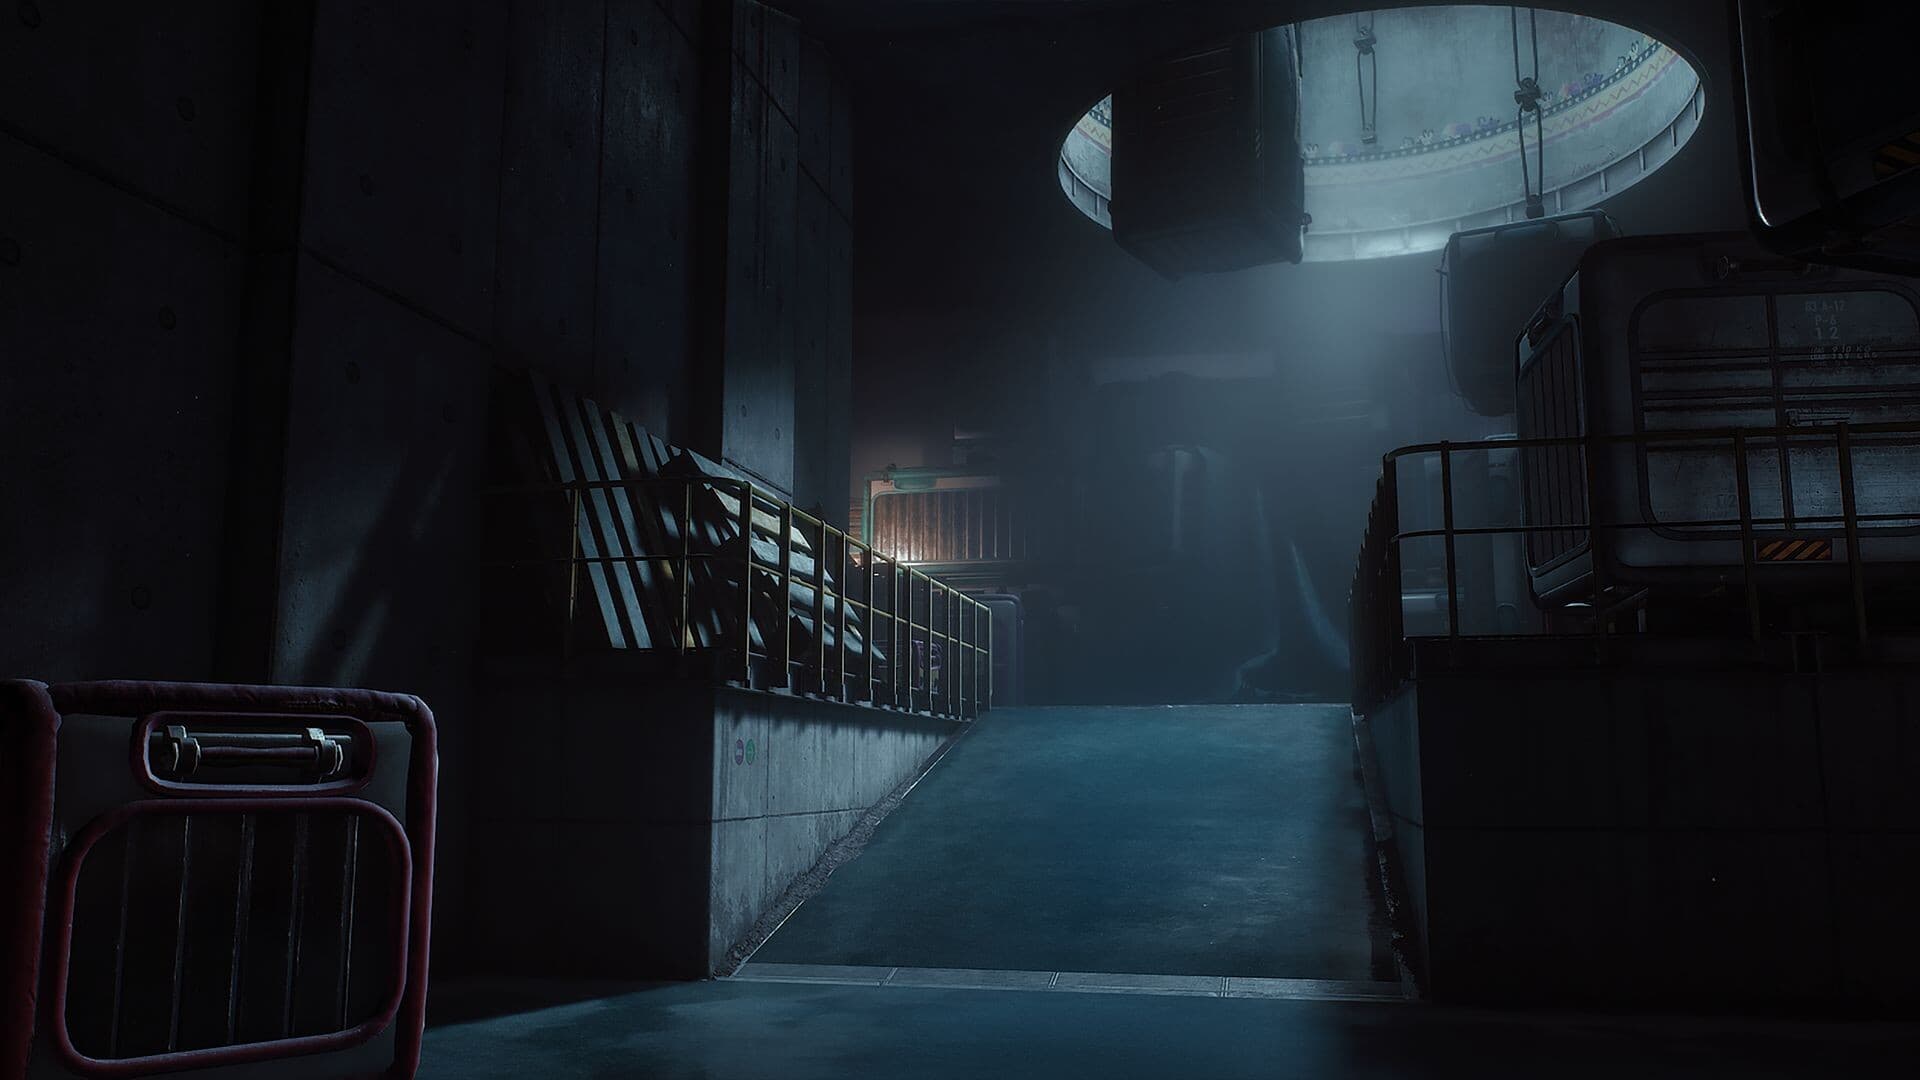
The dark lower level where the Player wakes after the elevator falls. Outimals live here. The Player finds Glowby and meets Giblet.
Giblet's shelter, reached through the vents. He plans the search for the backup from here.
The boiler area where the Player finds Bron and the replacement GrabPack. The Pressure Hand is in a locker in an office here, opened with the code 0859.
The conditioning area. The Player uses a neural mapping machine to play Huggy Wuggy's memories, then runs from Huggy through a hallway of conditioning rooms. One guide names the chase section Extreme Aggression Under Stress.
A candy-themed street with a playground and a toy treehouse. Lily Lovebraids captures the Player at the end of it.
Lily Lovebraids' giant dollhouse.
A wing of surgery rooms and observation rooms that leads to the Grand Stitchery.
A large machine room in Reanimation with a battery puzzle.
The Labs tram line. The Prototype impales Huggy Wuggy and Kissy Missy near the station, then chases the Player along the moving tram until it crashes. One guide names this section The End of the Line.
The room that stores the backup. The Player restarts a terminal here and wakes the Harley Sawyer backup. Other sites call it Data Storage, IT or the server room.